I love Thanksgiving. It’s one of my favorite holidays. My whole family gets together around food, song and laughter. I’ve been getting some requests lately for plant-based Thanksgiving options for vegetarians, so I thought I would share some here. All of these recipes *happen* to be vegan and gluten-free, but you don’t need to tell anyone that 🙂
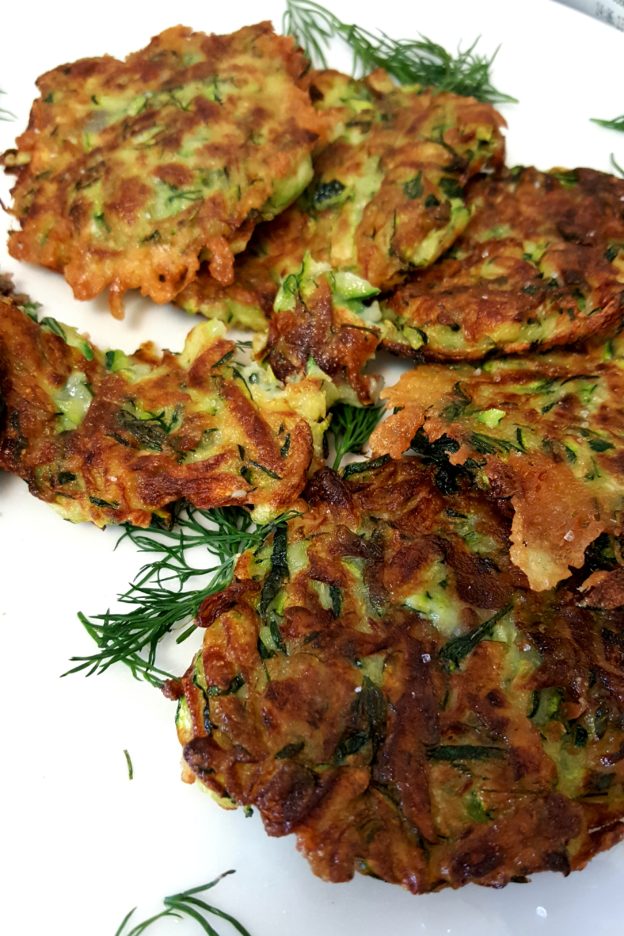
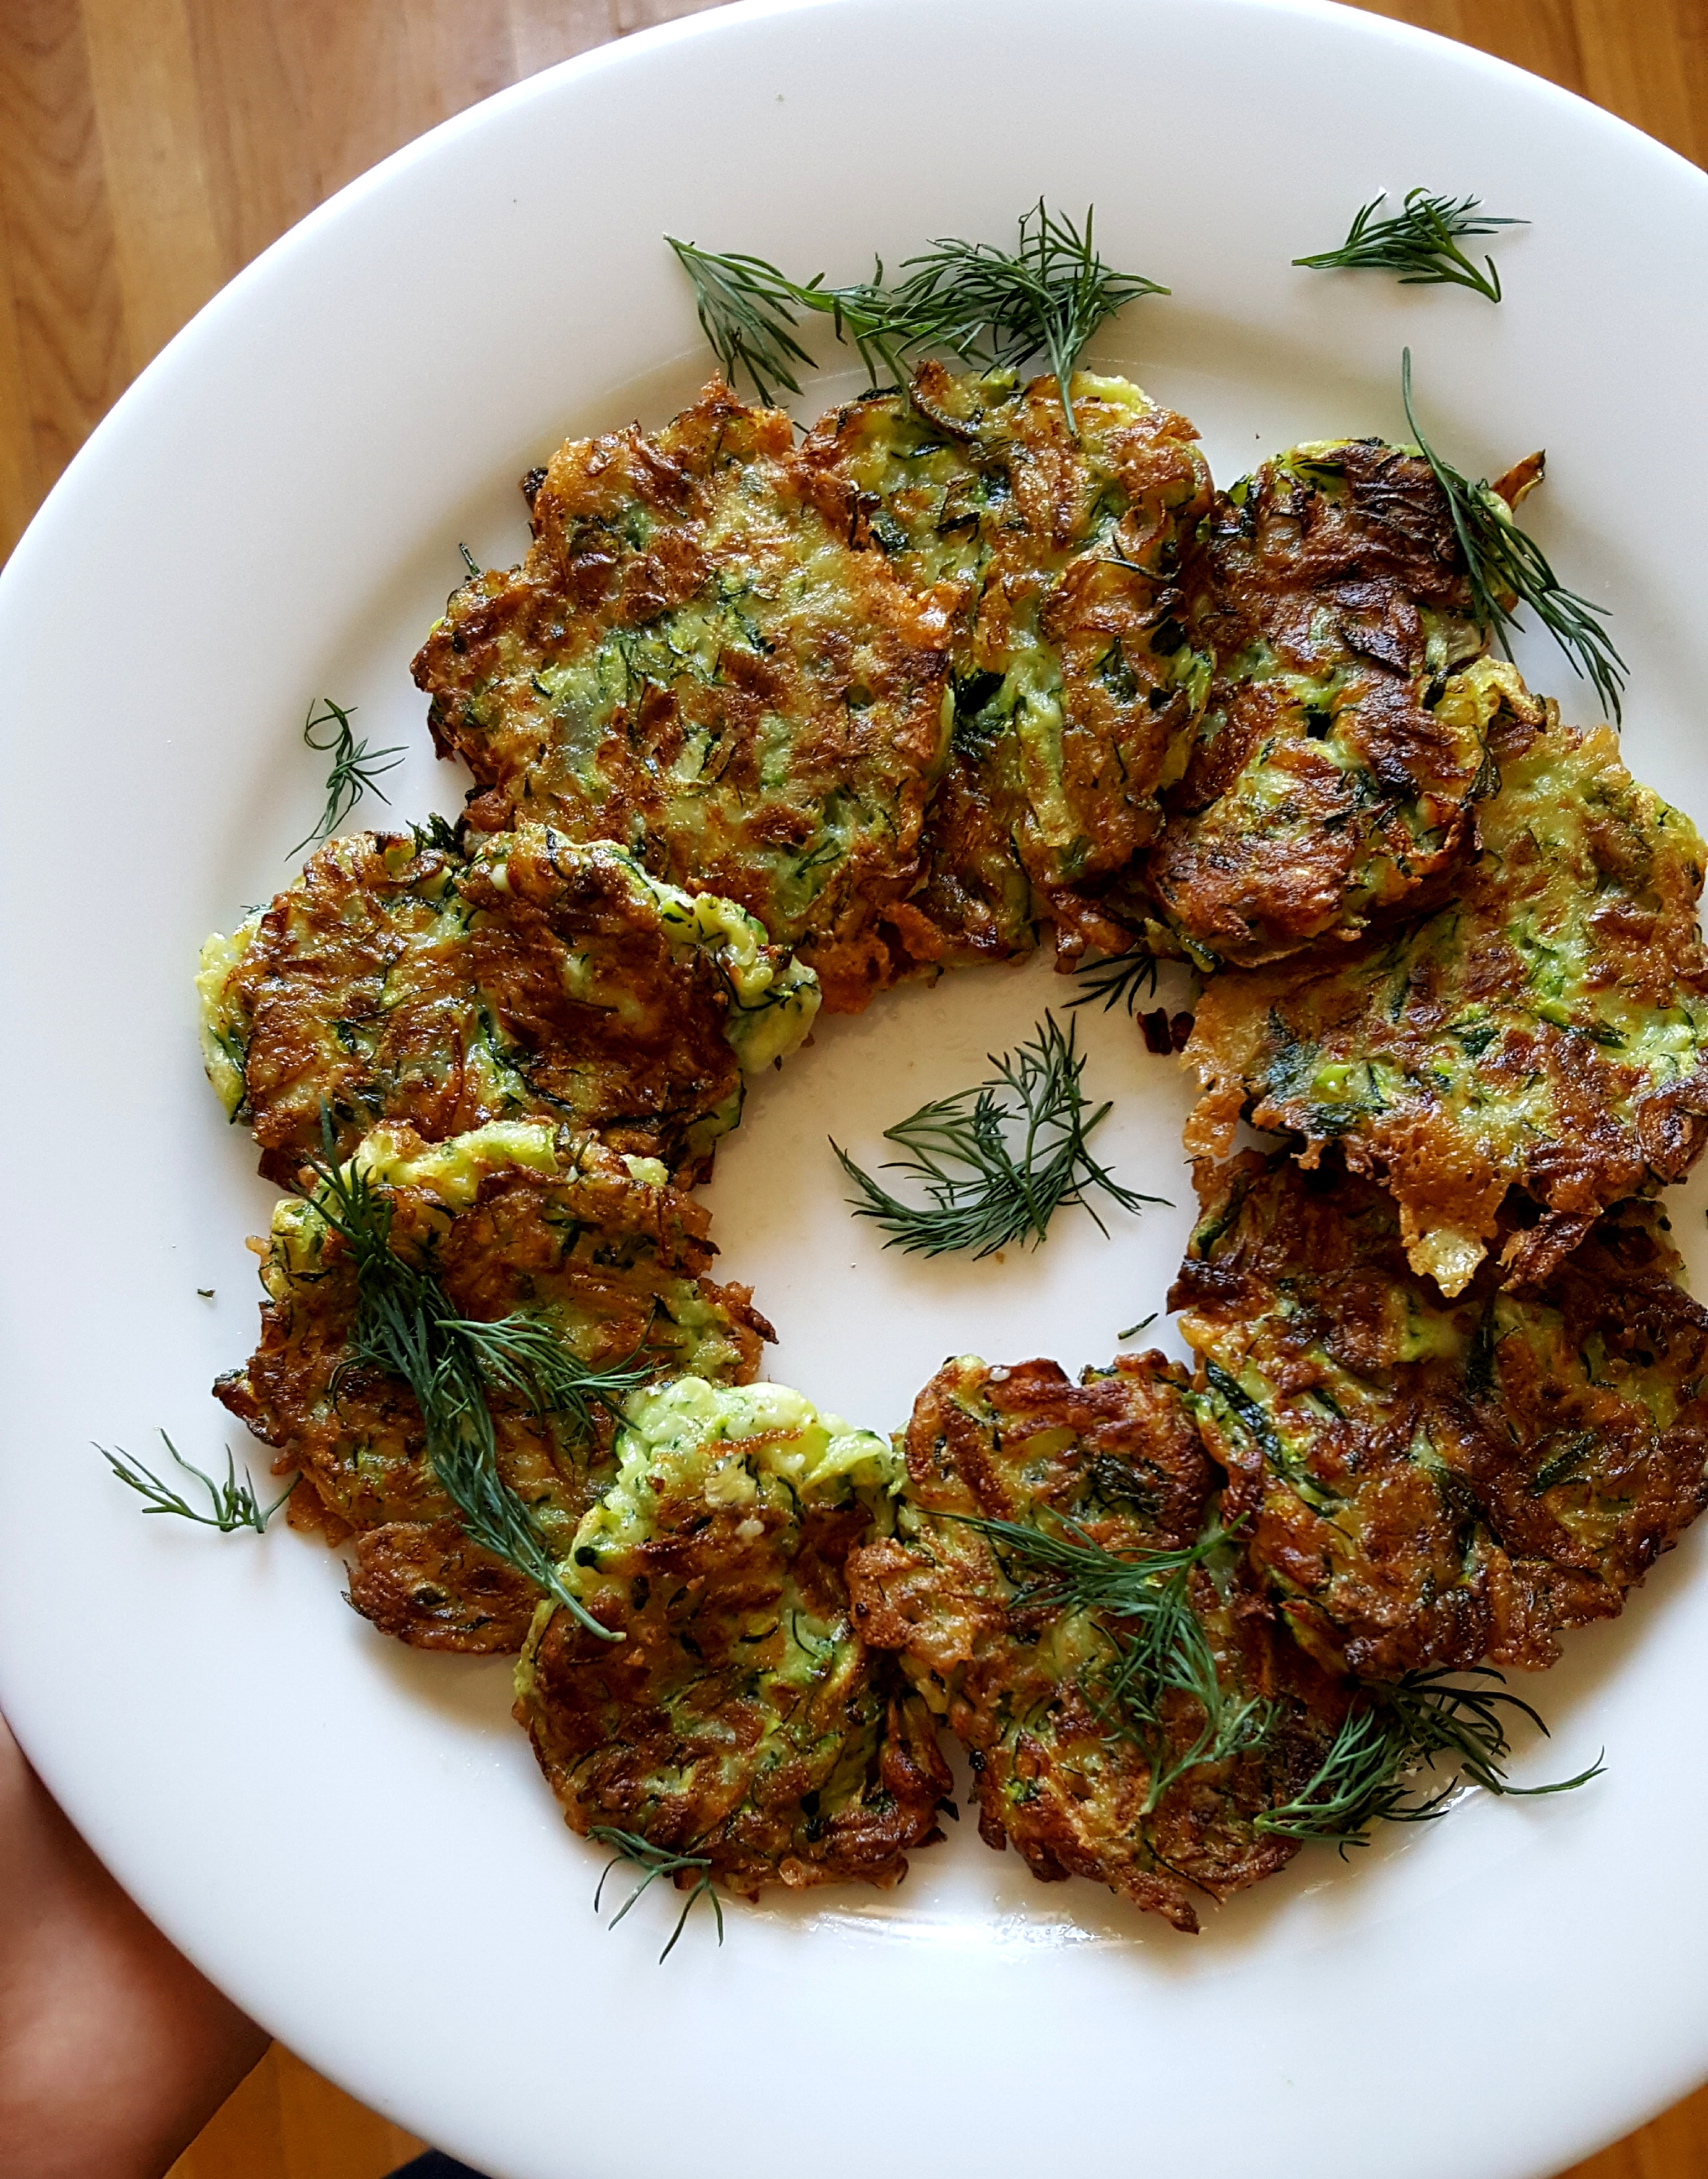
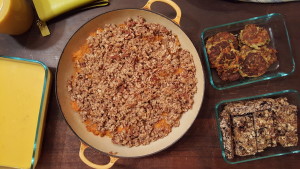 This is one of my favorite fall dishes. It’s like dessert with a delicious crispy crumble. It’s definitely a Thanksgiving winner. The crumble is made with pecans, oats, almond meal, coconut oil, vanilla, cinnamon and maple syrup. You can double the crumble recipe and use it to top a crisp since you’re already cooking!
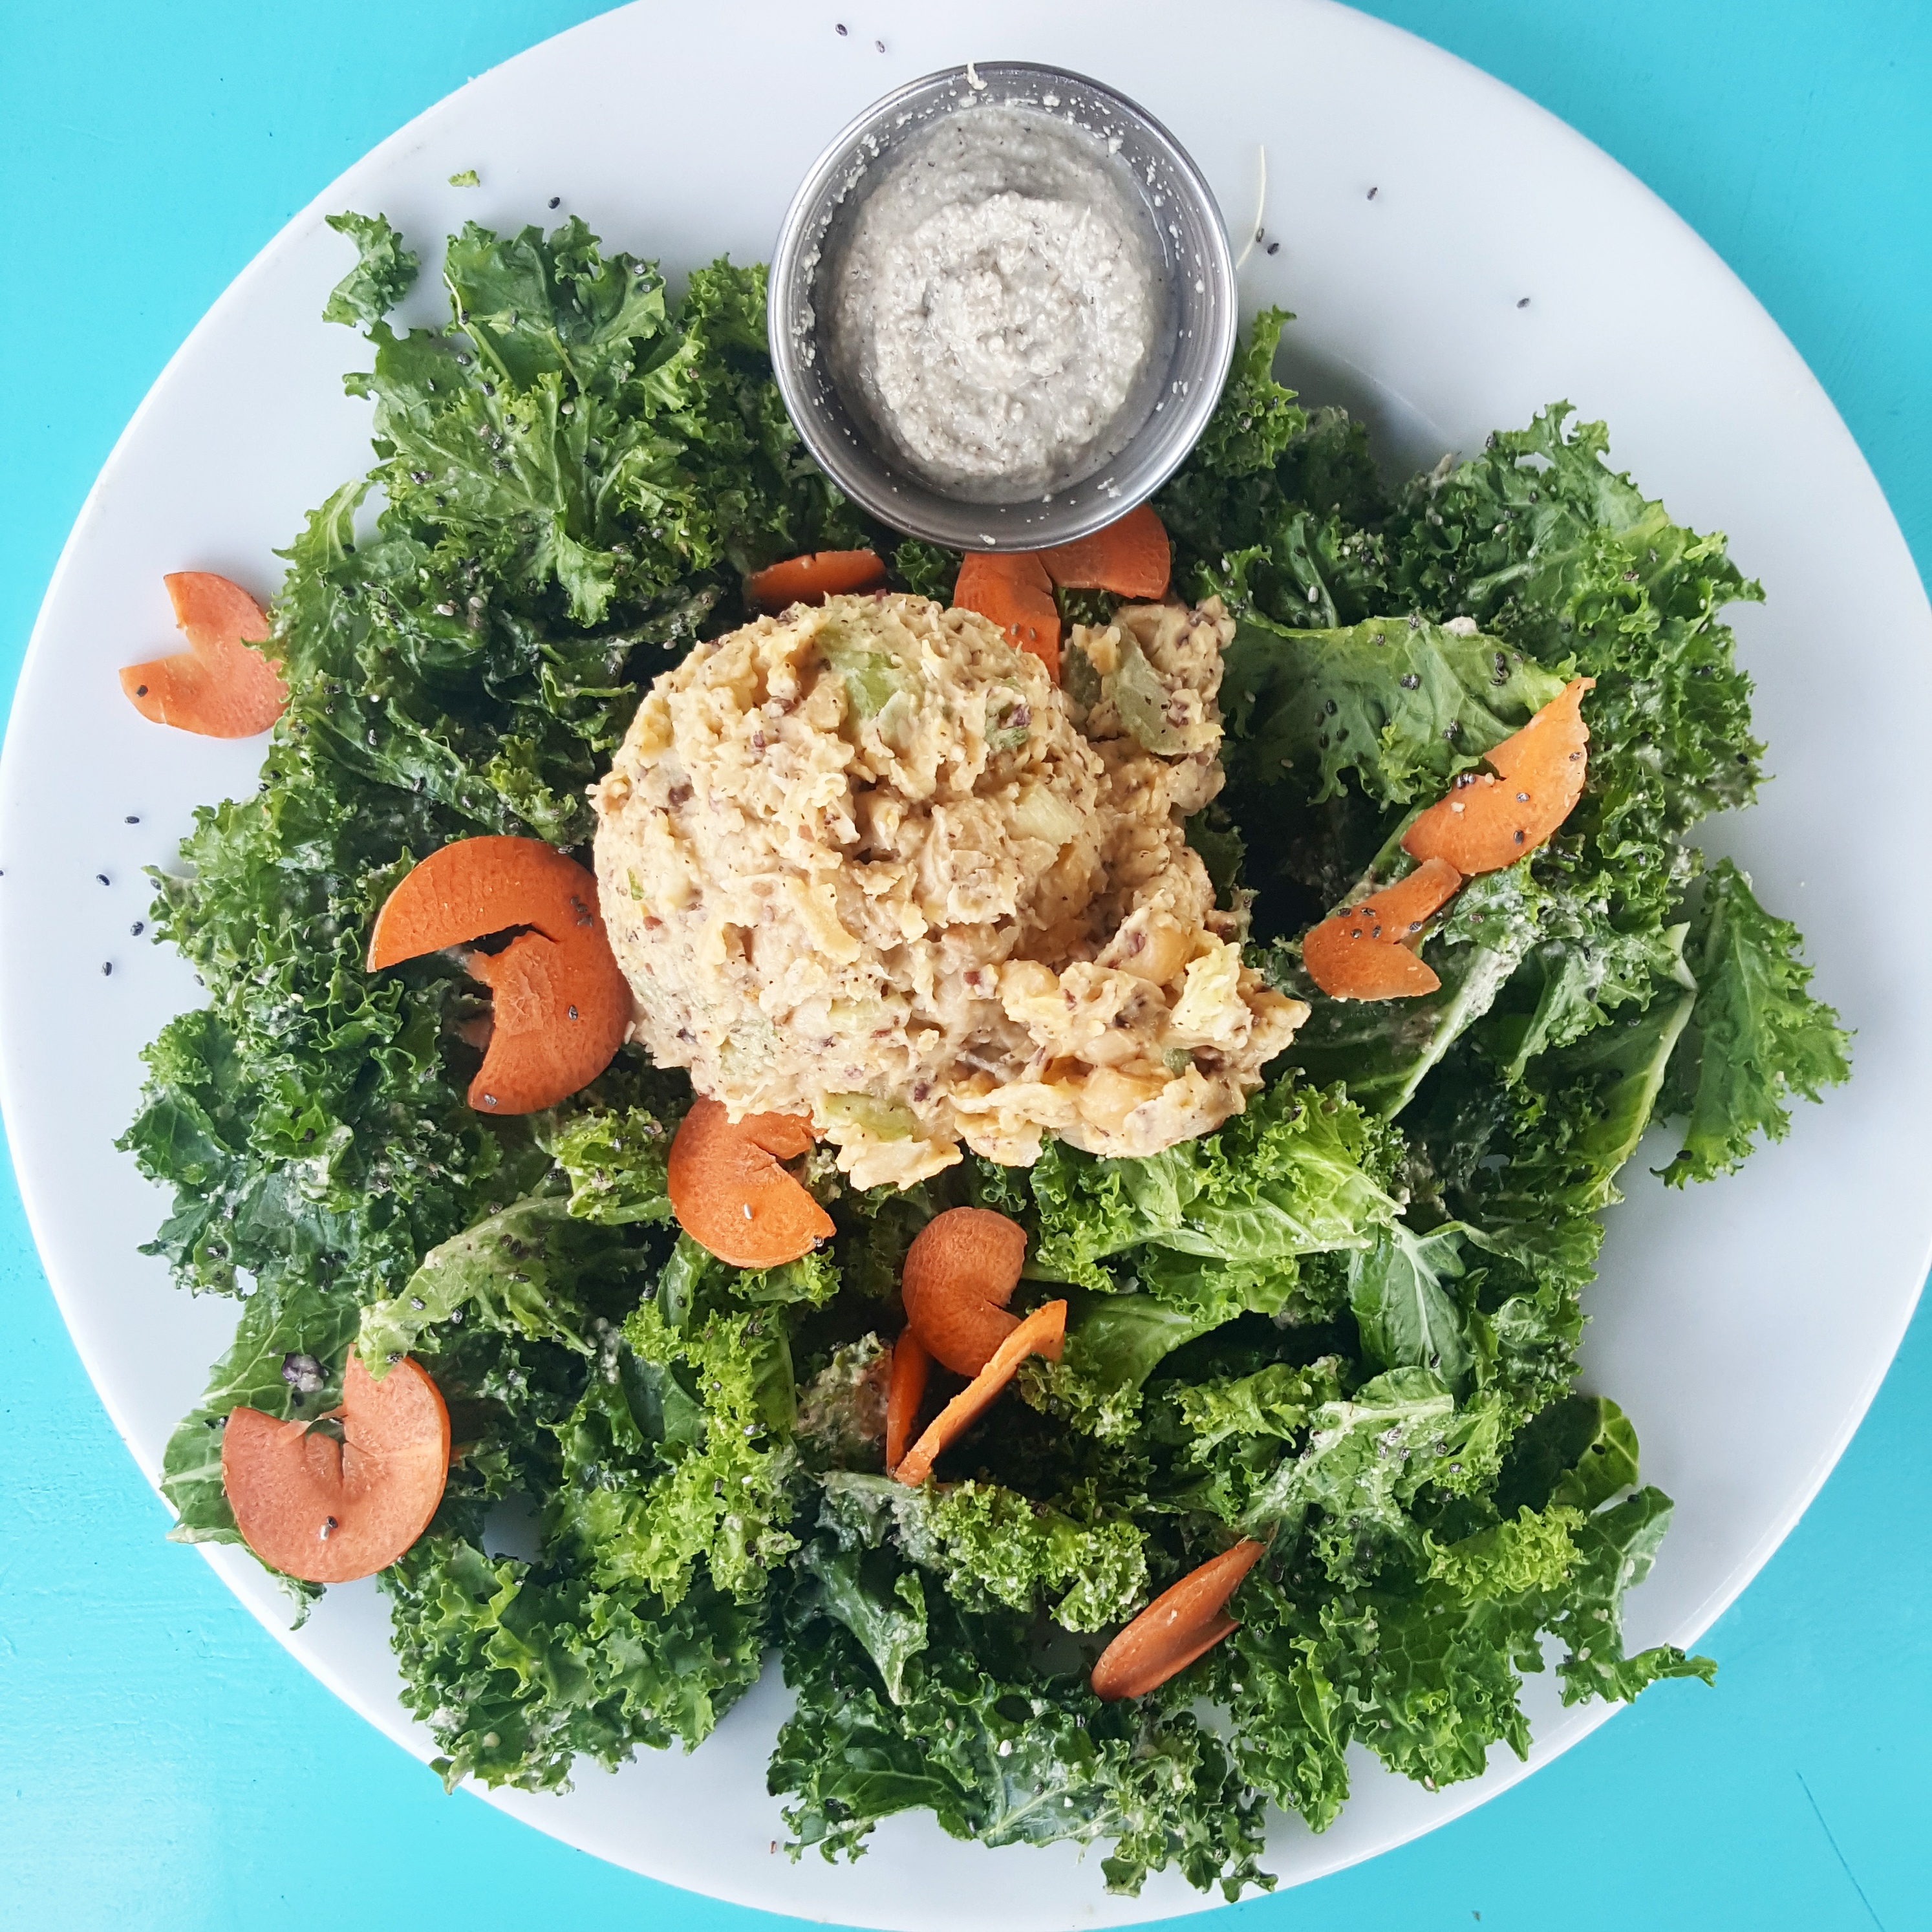
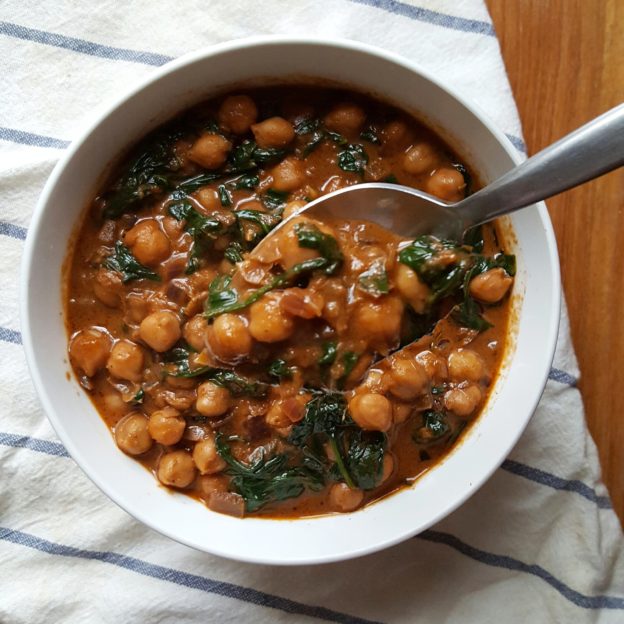
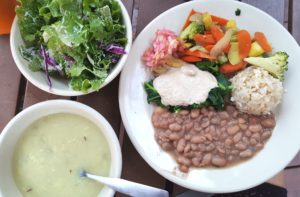
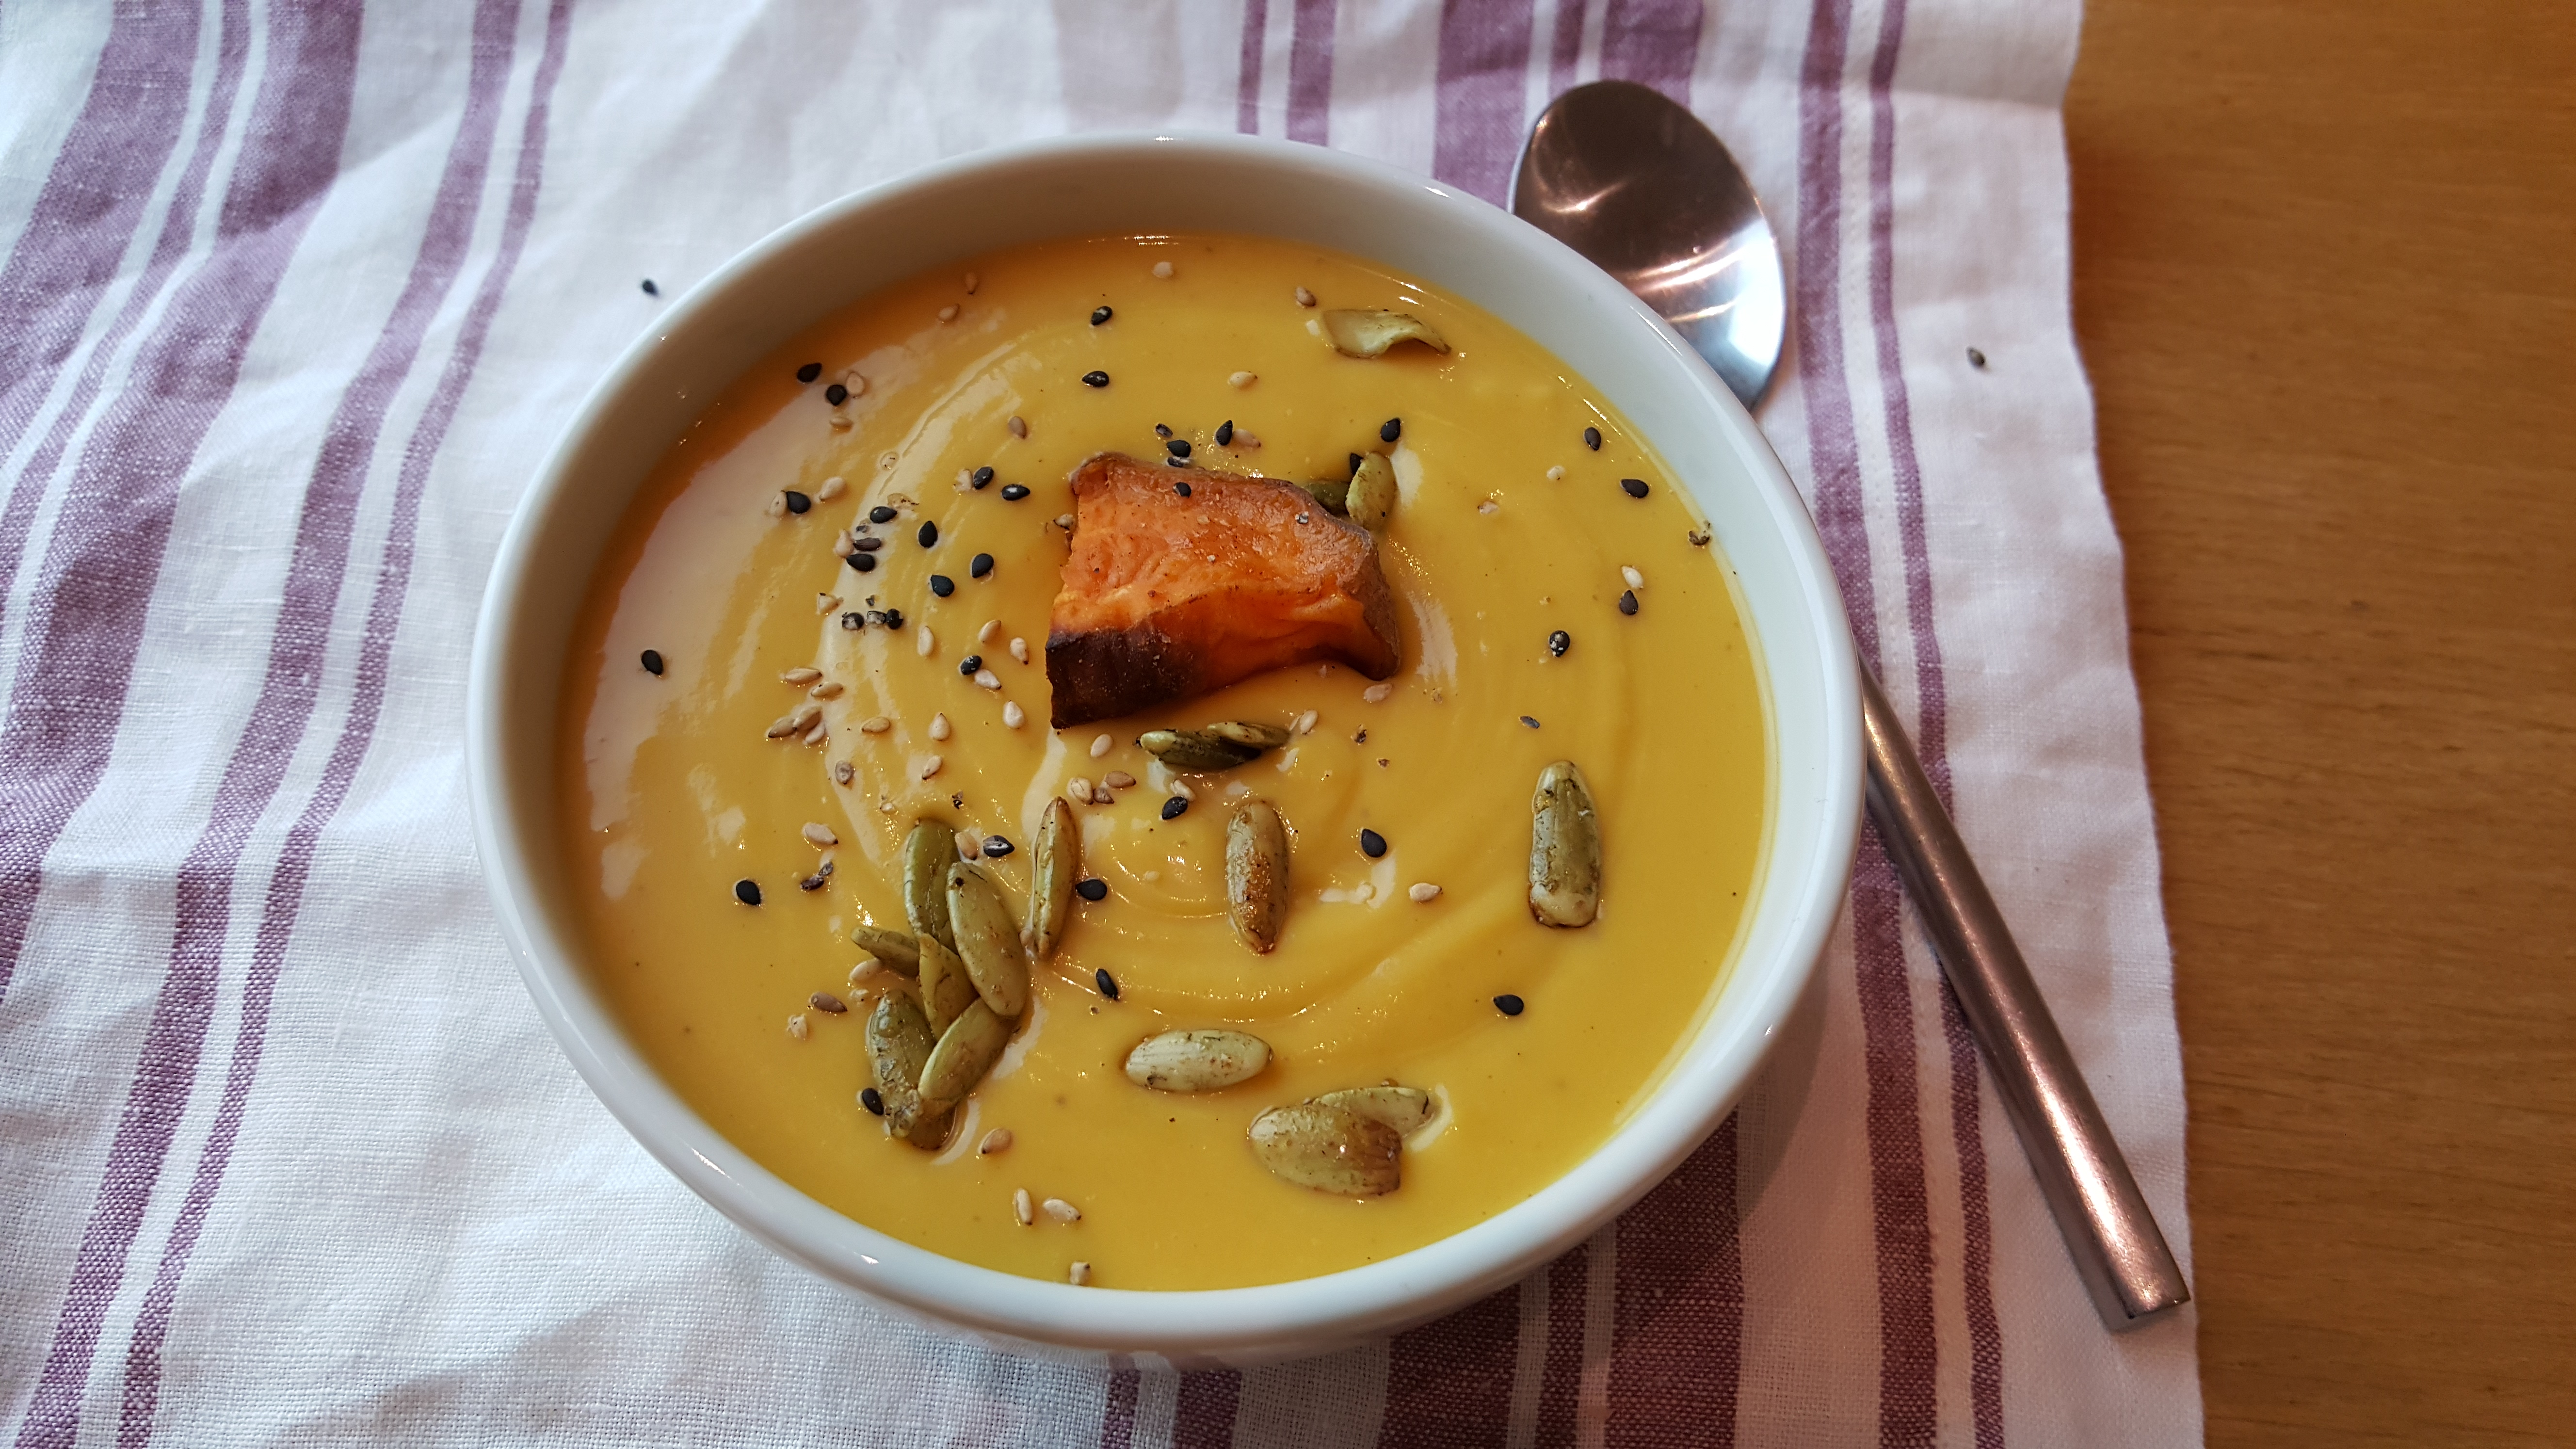
 This soup is a hit anywhere I take it. I mix it up with different spices or more or less ginger, but the overall feel is warm, soothing, comforting, creamy, hearty and delicious. And, it only has a few ingredients, and you don’t have to worry about what they look like when you chop them (yay blended soups!)
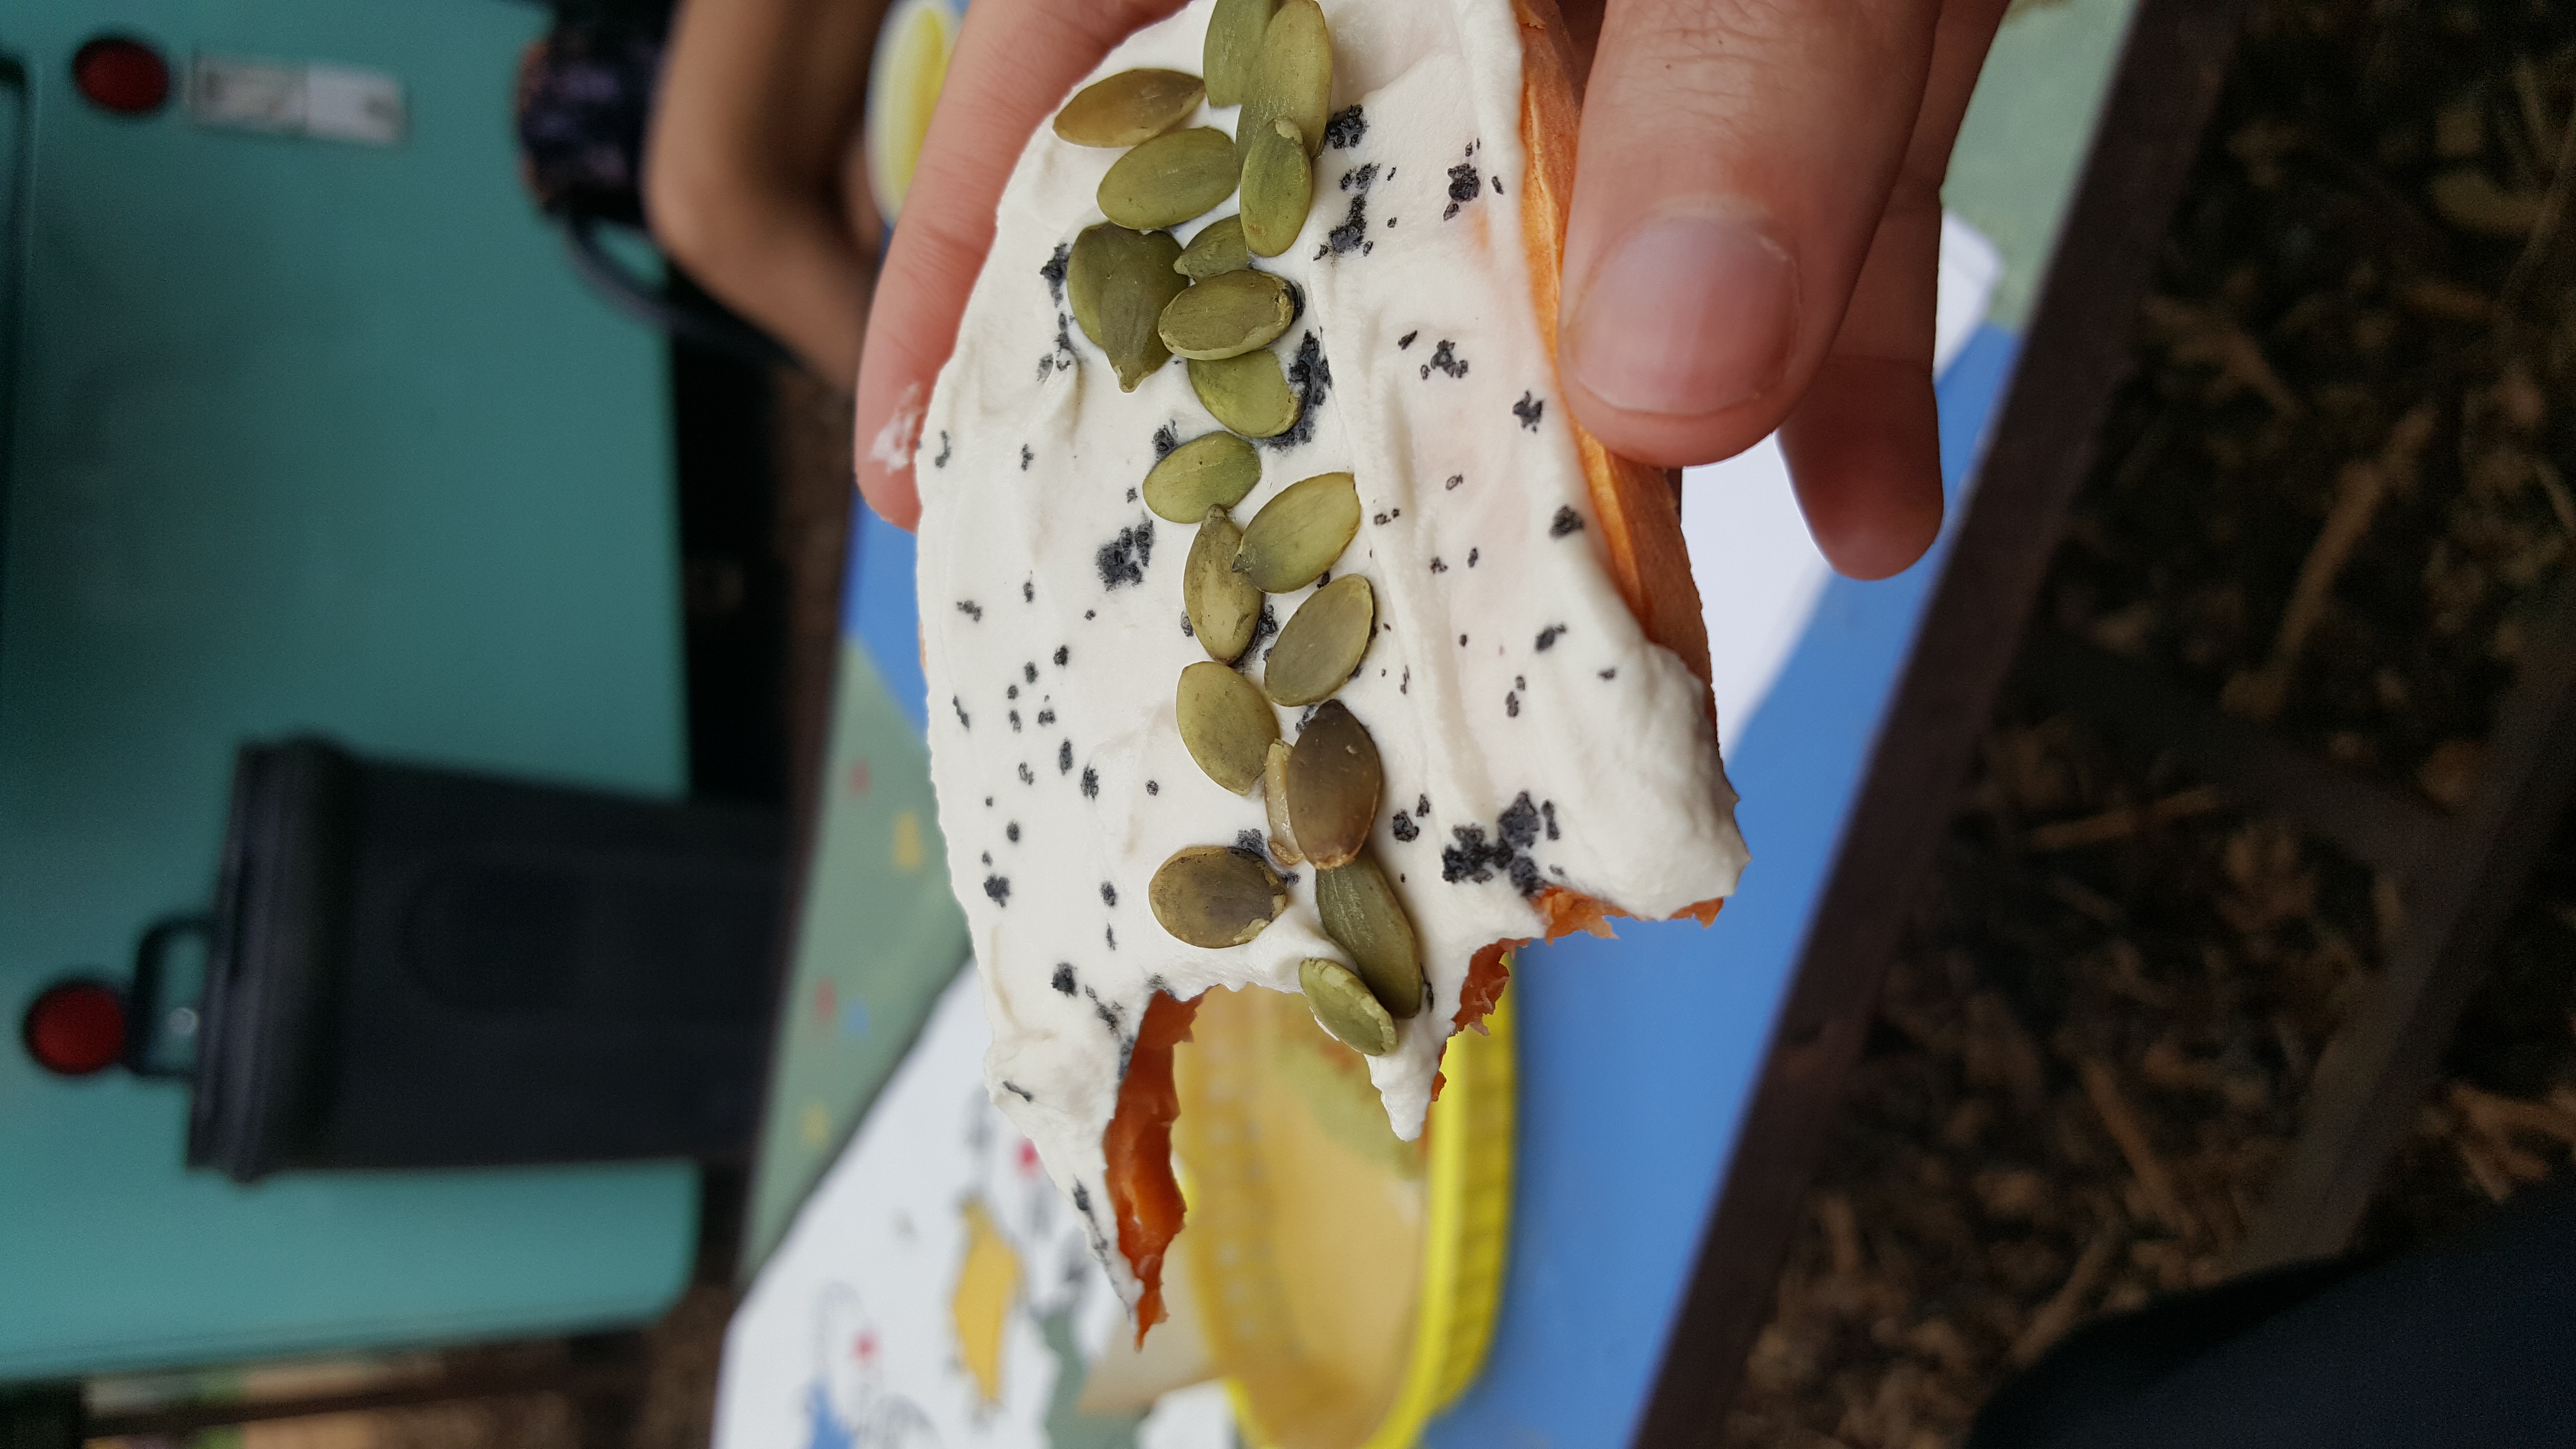
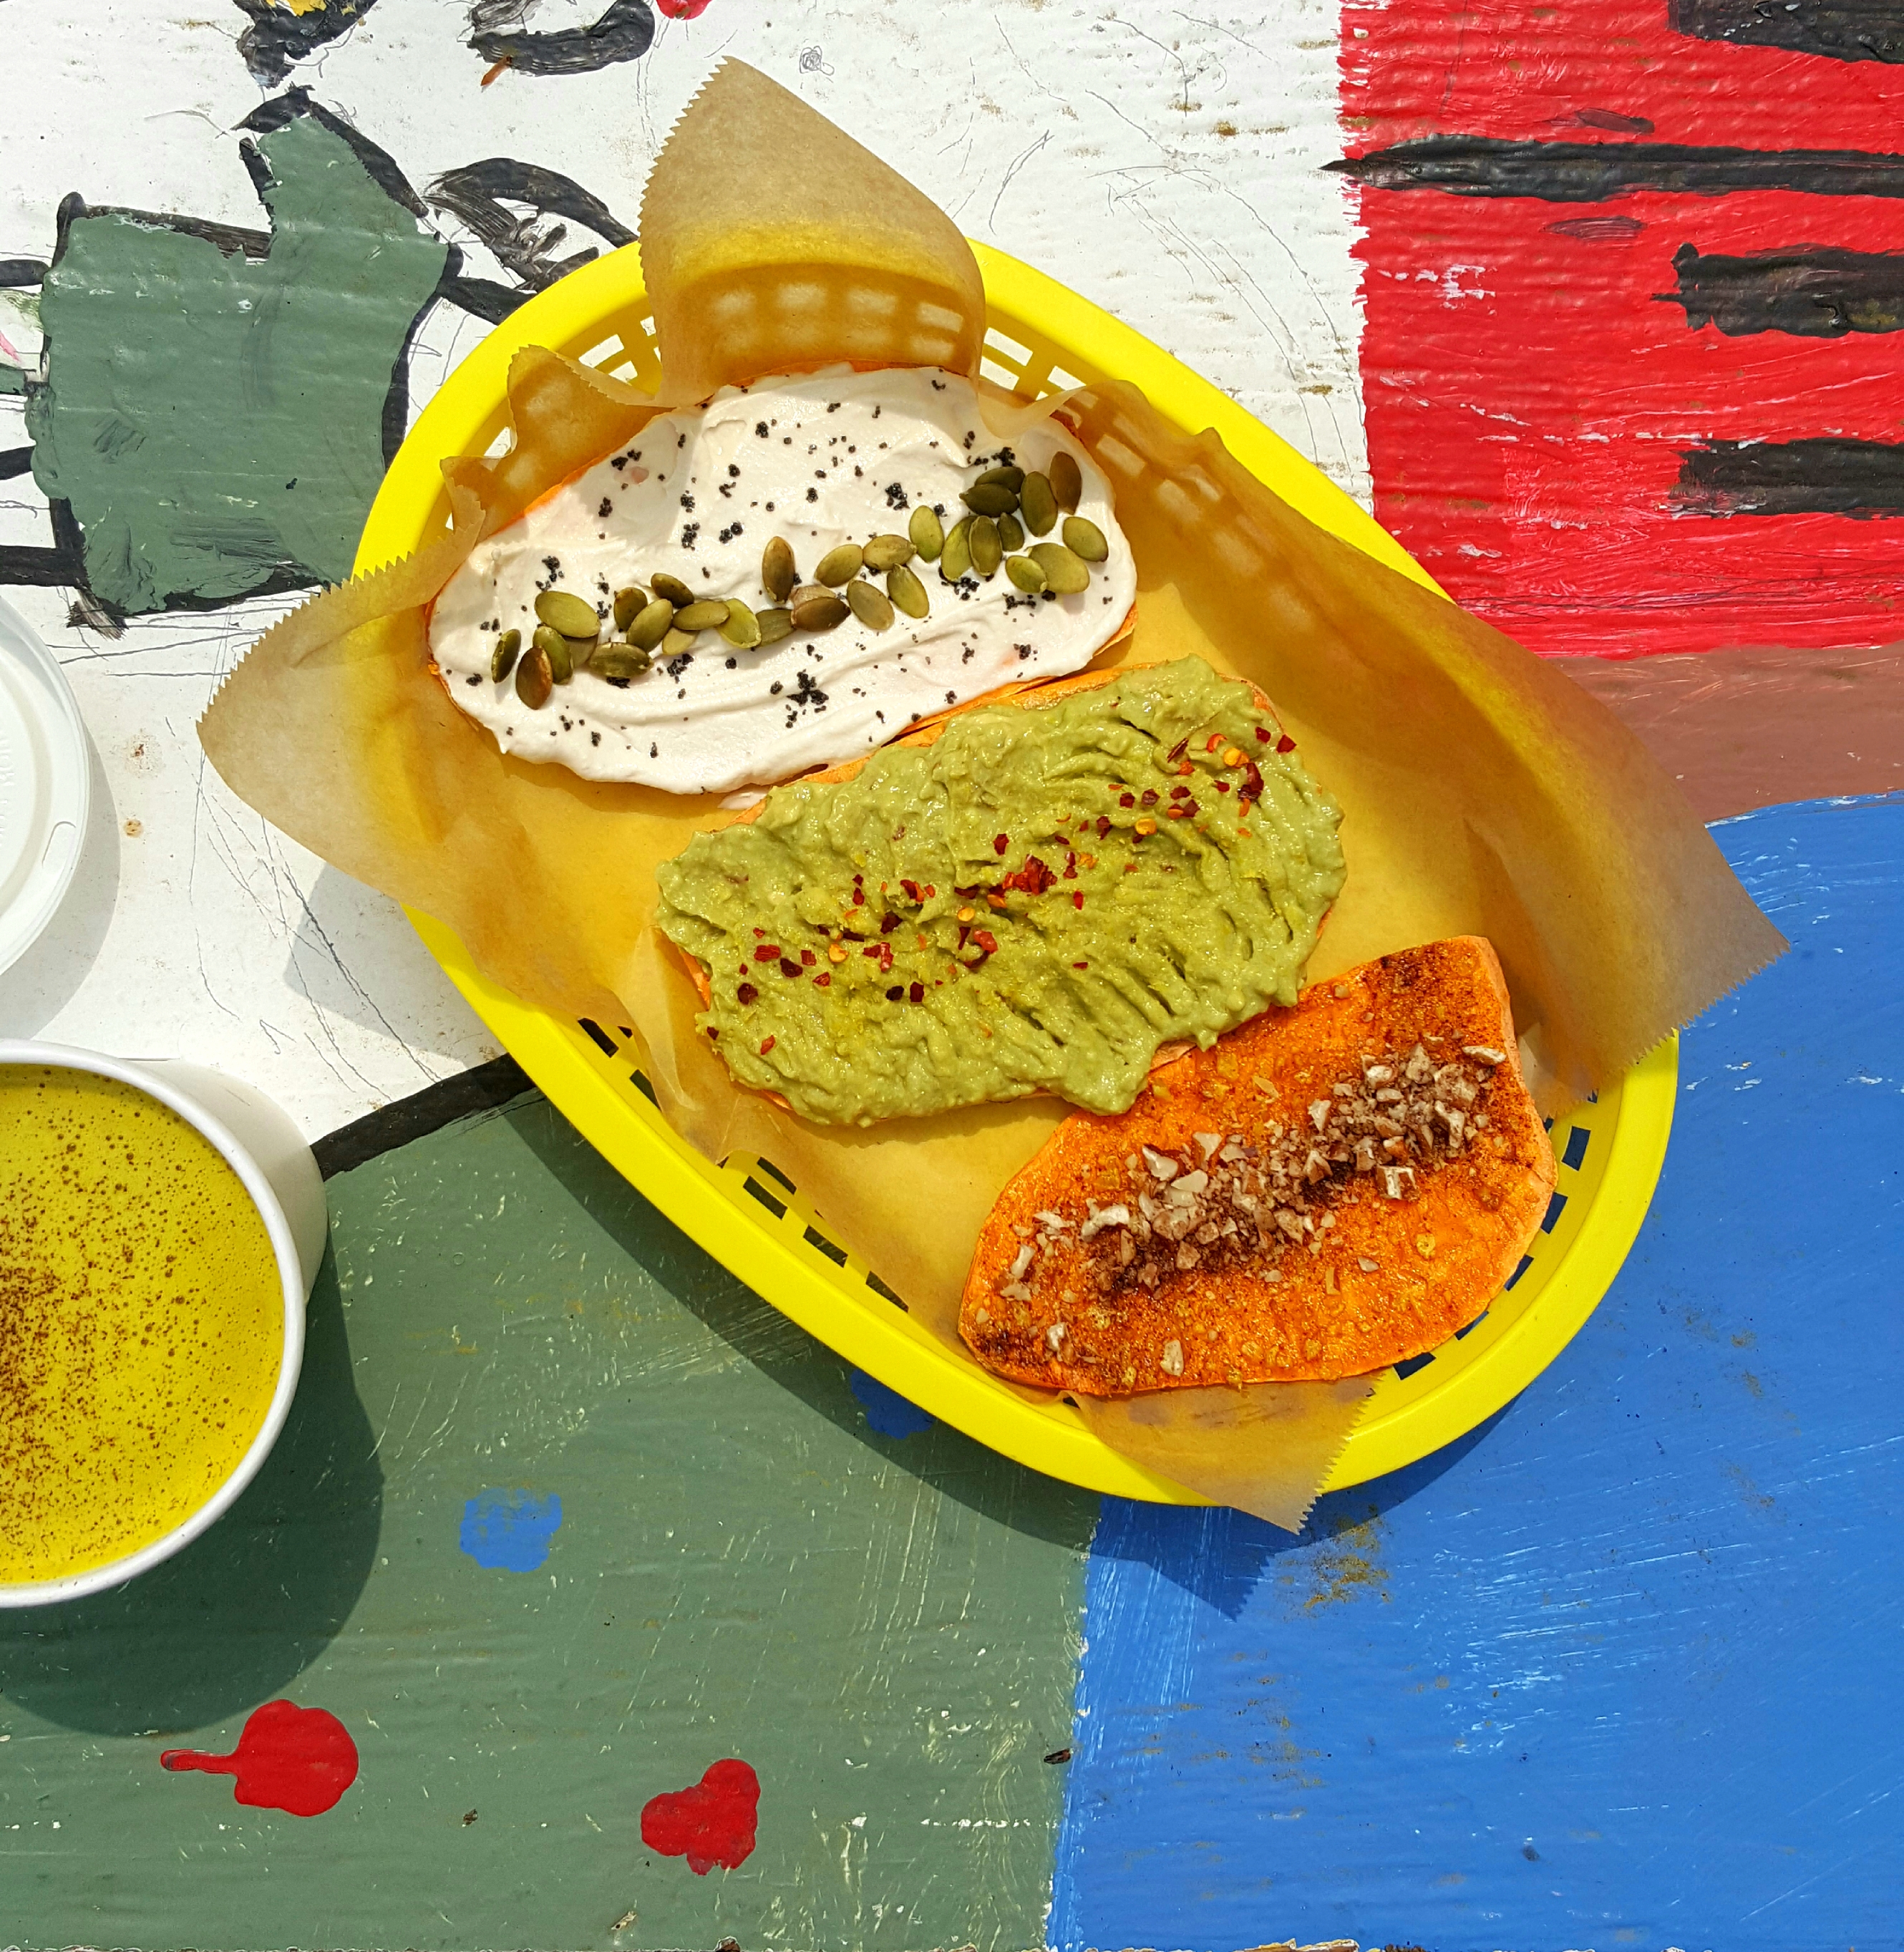
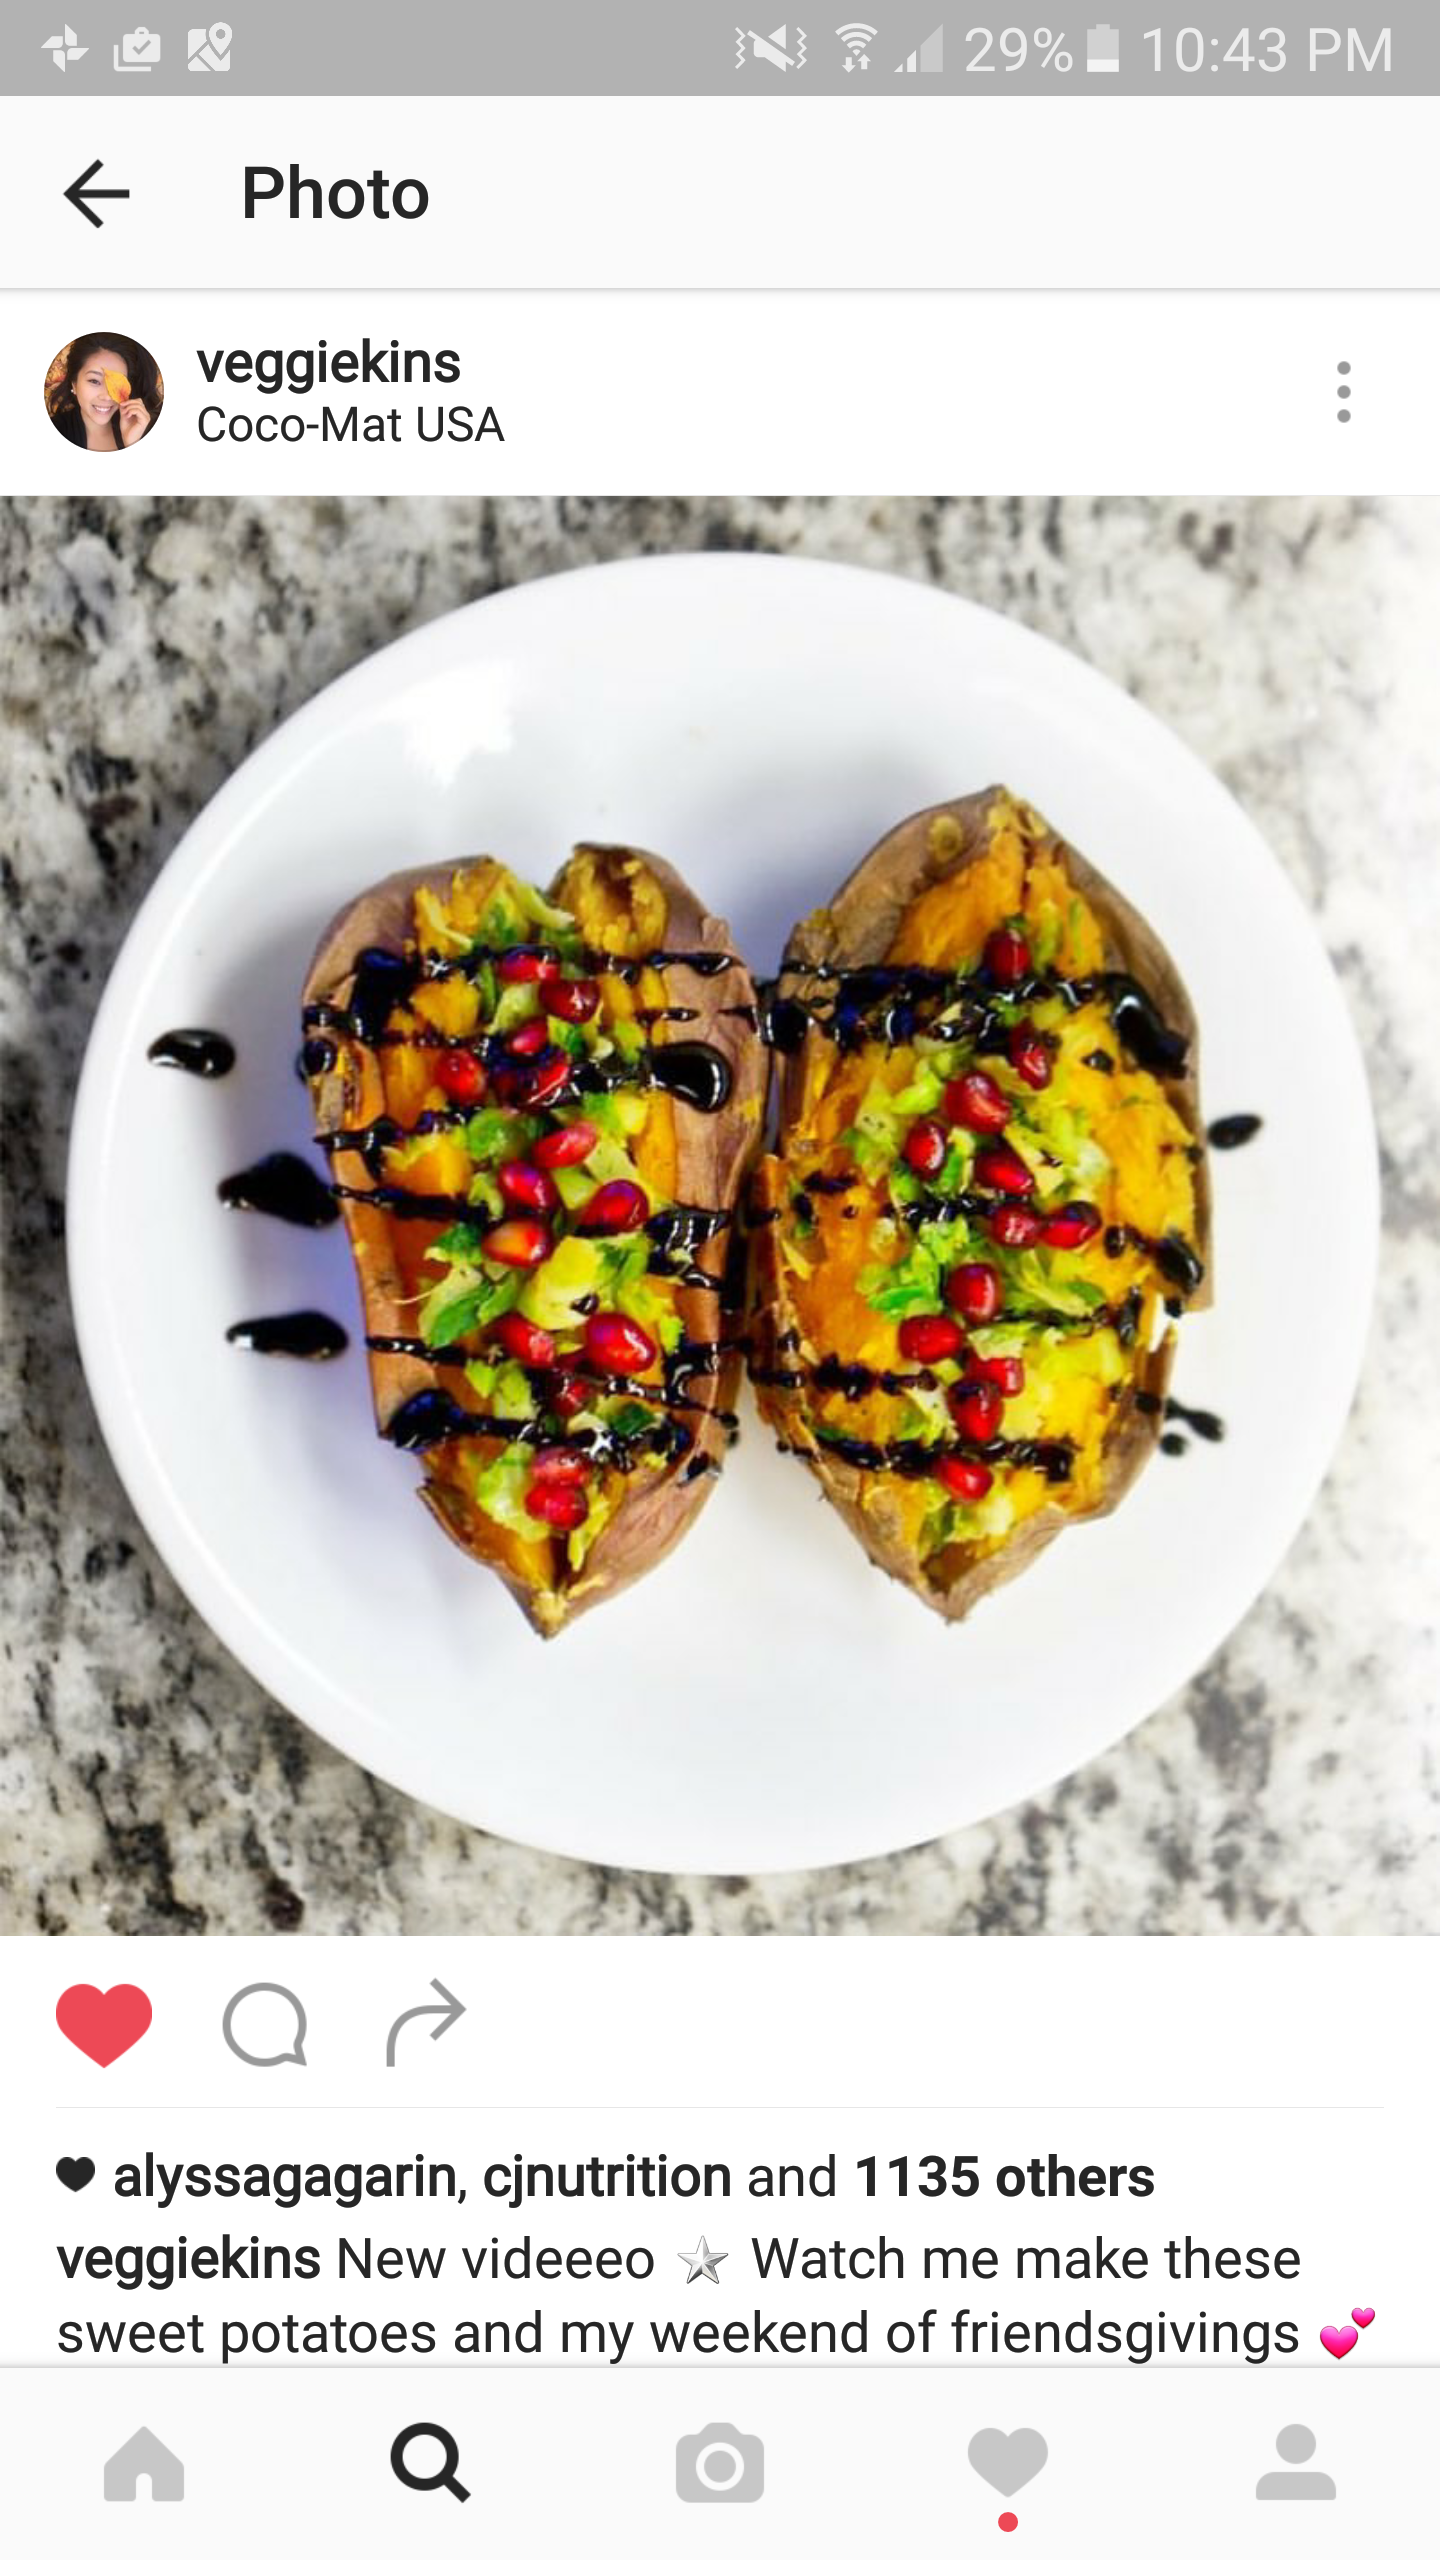
Stuffed Sweet Potatoes with Brussels Sprouts, Balsamic Glaze, Pomegranate and Pecan
This di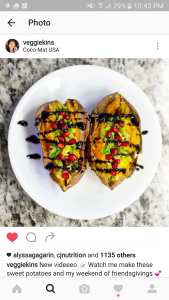 sh was inspired by a new friend, @veggiekins. She brought this dish to a friendsgiving and I just loved it. Bake a sweet potato (400 for about an hour) and then stuff with sauteed Brussels sprouts (you can buy pre-chopped ones or slice your own). I sauteed the Brussels sprouts with shallots and olive oil. Top with toasted pecans, pomegranate seeds and either balsamic glaze or a balsamic reduction. It’s so beautiful and tasty! Just remember to salt the inside of the potato, too 🙂 This dish is also very adaptable, @veggiekins recipe happened to be oil free, she just sauteed the Brussels in water.
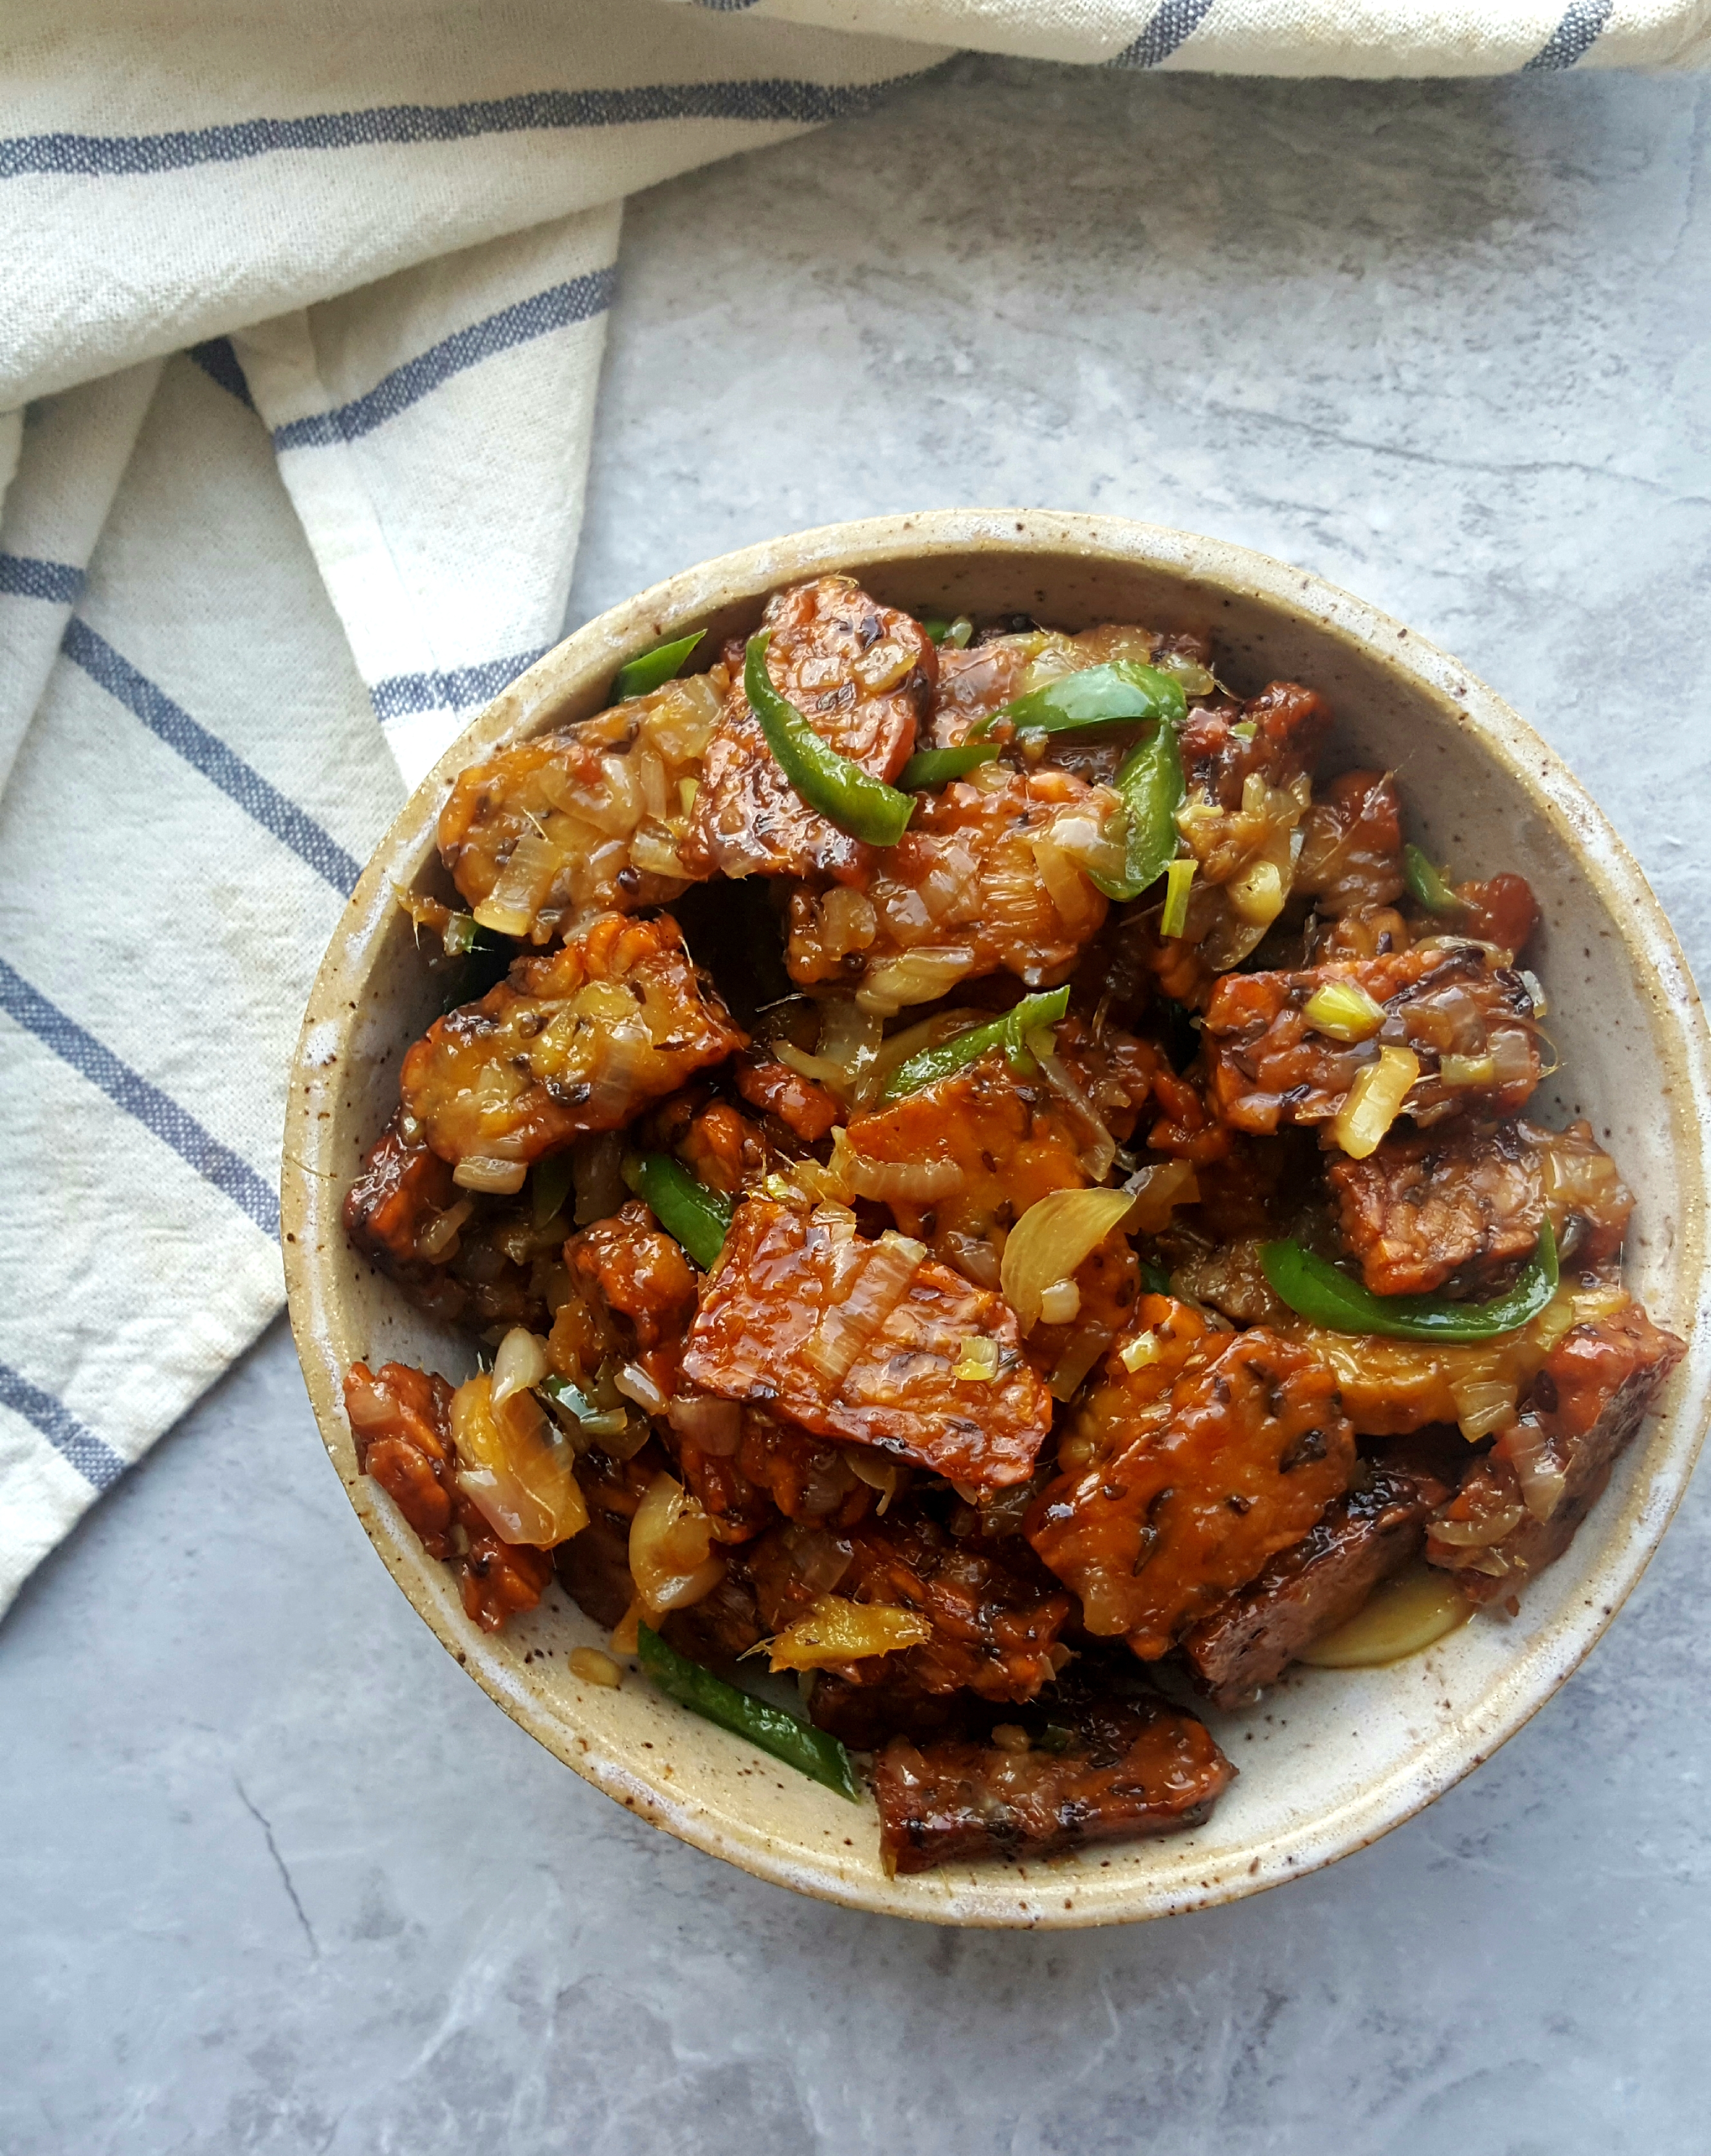
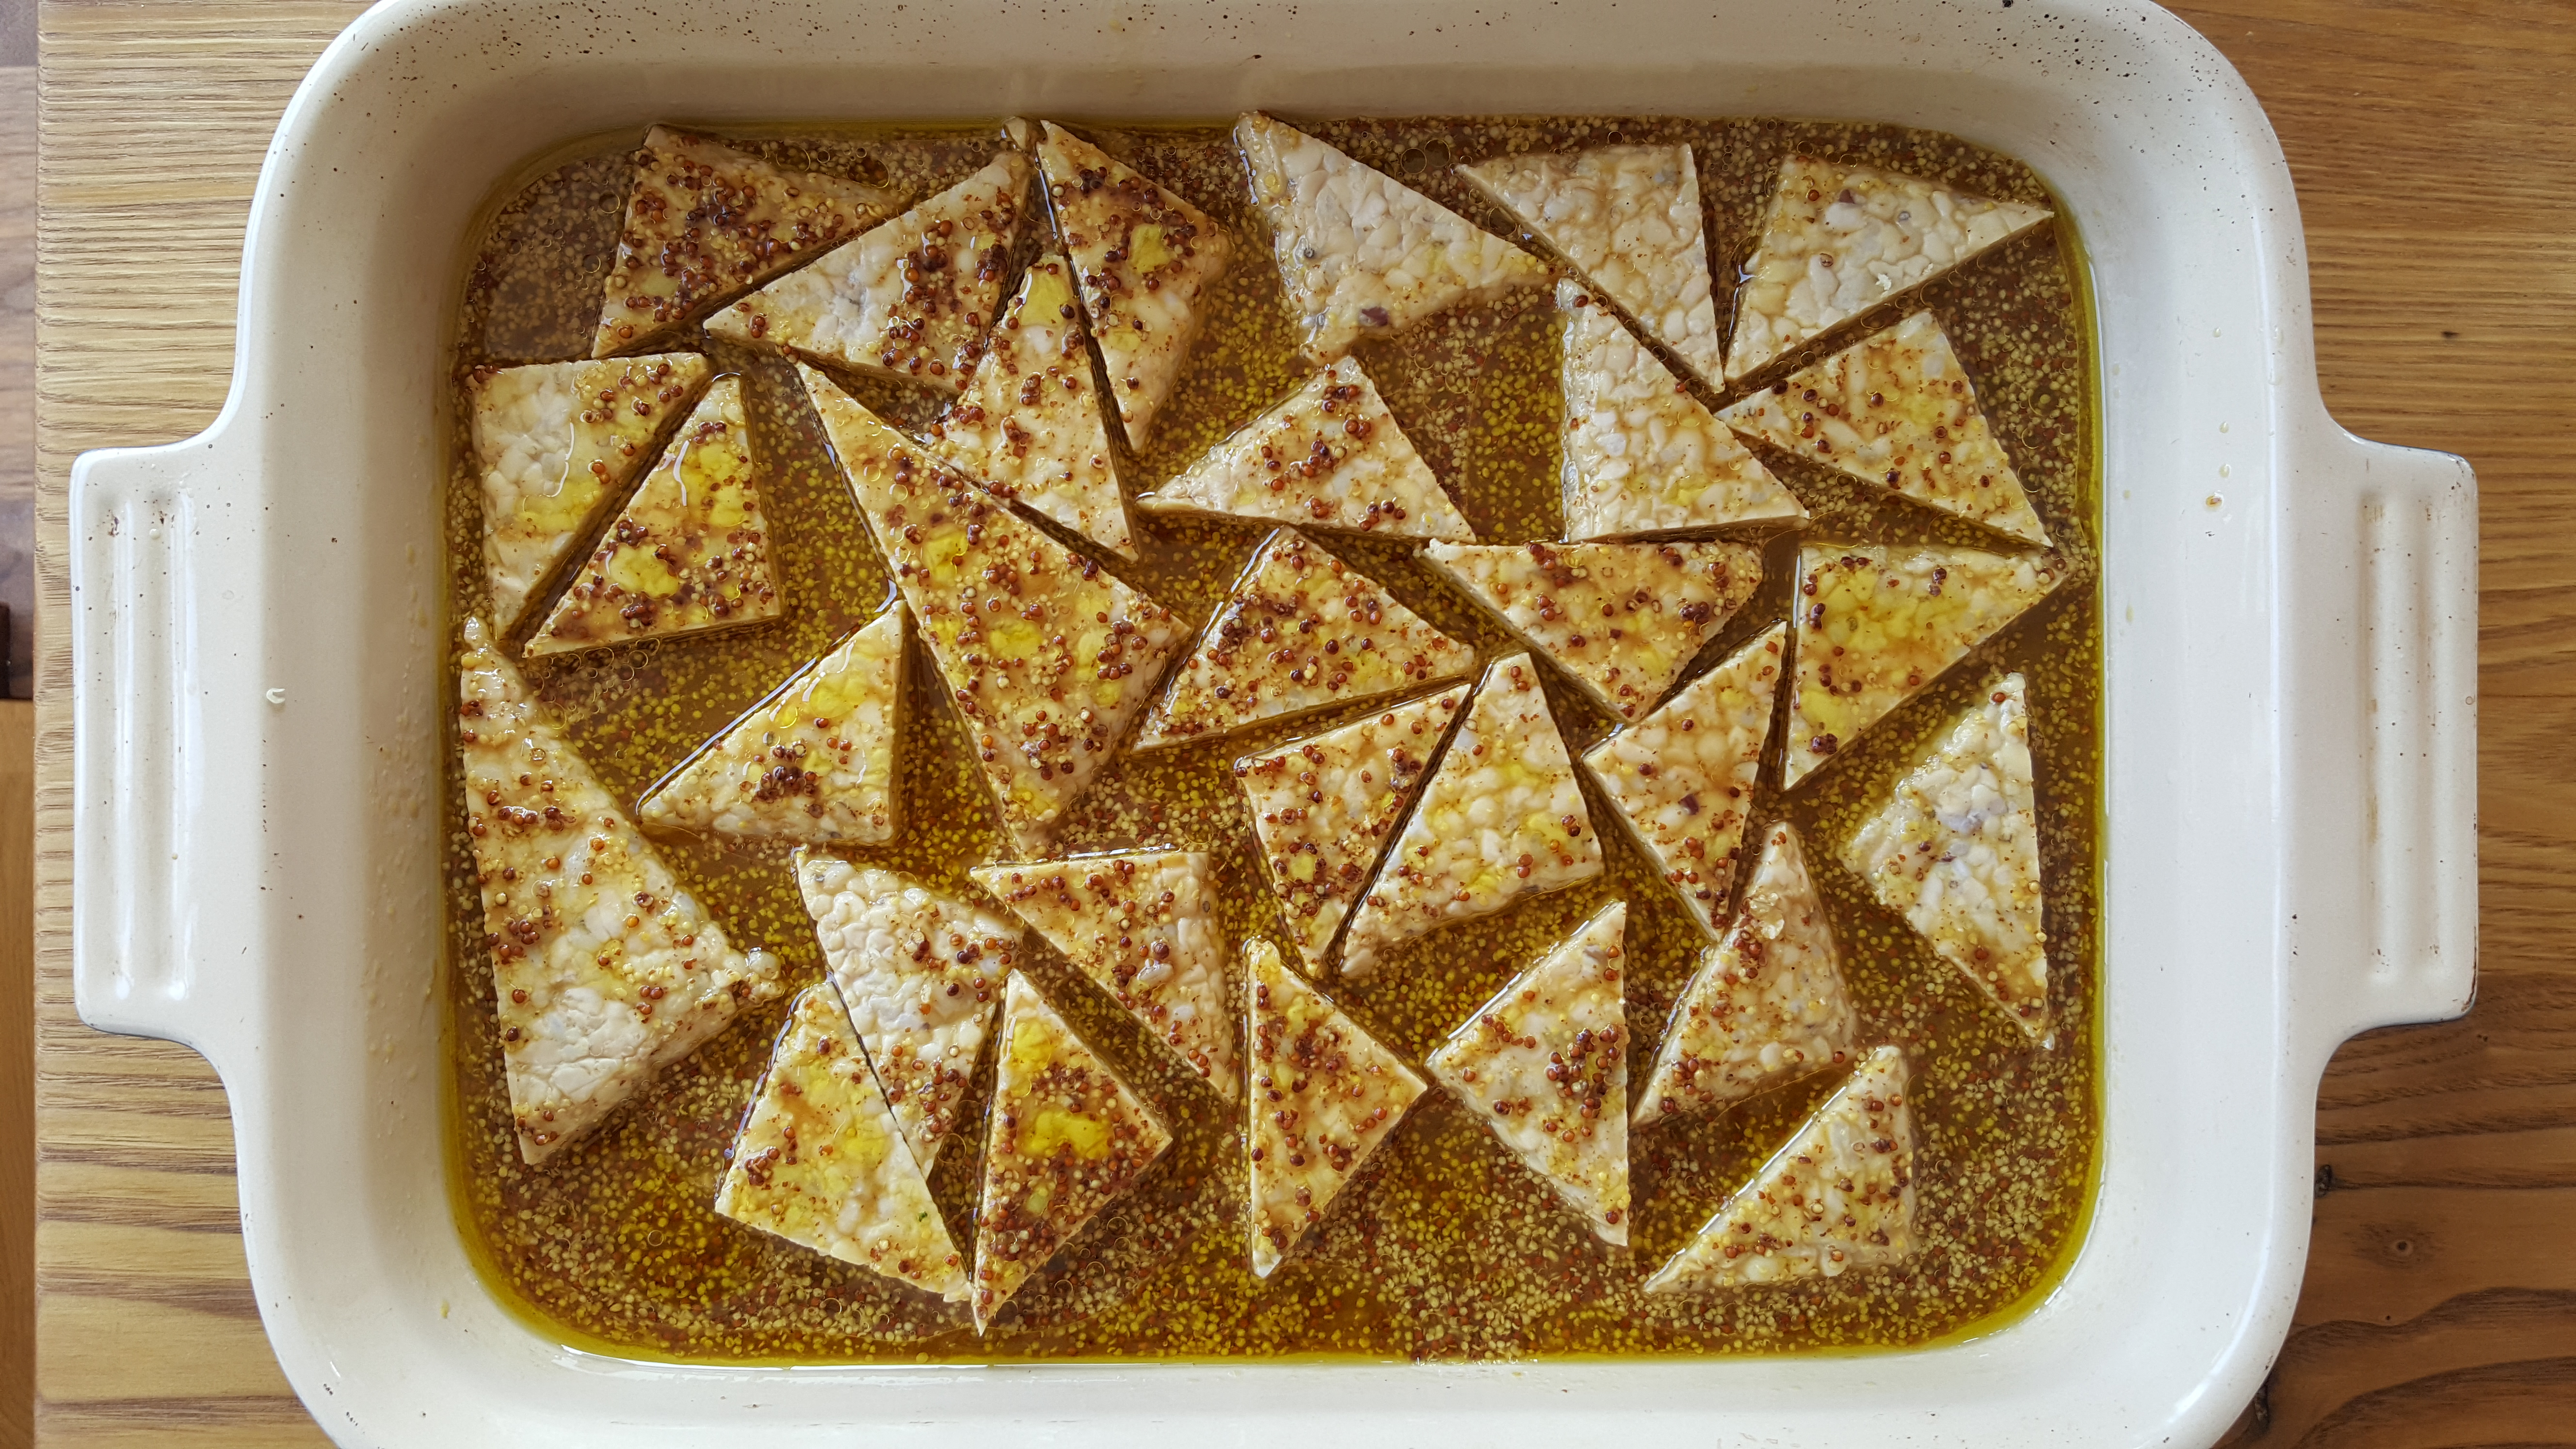
Maple Mustard Tempeh
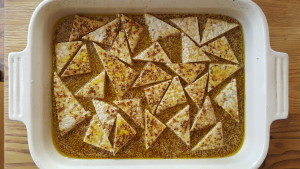 Tempeh is a great vegan/vegetarian protein. It’s made from fermented soybeans (and other grains sometimes) and contains lots of protein and health benefits from the fermentation process. It can be tricky to cook, but this recipe by my friend and colleague Blaine is super easy to do and it tastes great. The image is what it looks like before baking.
Maple Mustard Tempeh
- ½ lb tempeh
- ¼ cup water
- 2 tablespoons Dijon
- 2 tbs honey or maple
- 2 tbs tamari
- 2 tbs olive oil
- 2 teaspoons apple cider vinegar
Preheat oven to 350. Cut tempeh into four equal rectangles then slice in half lengthwise then diagonally to make 16 triangles. Pour marinade over tempeh and bake until marinade is mostly absorbed, about 30-40 minutes. I usually double the recipe since most tempeh comes in 1lb packages.
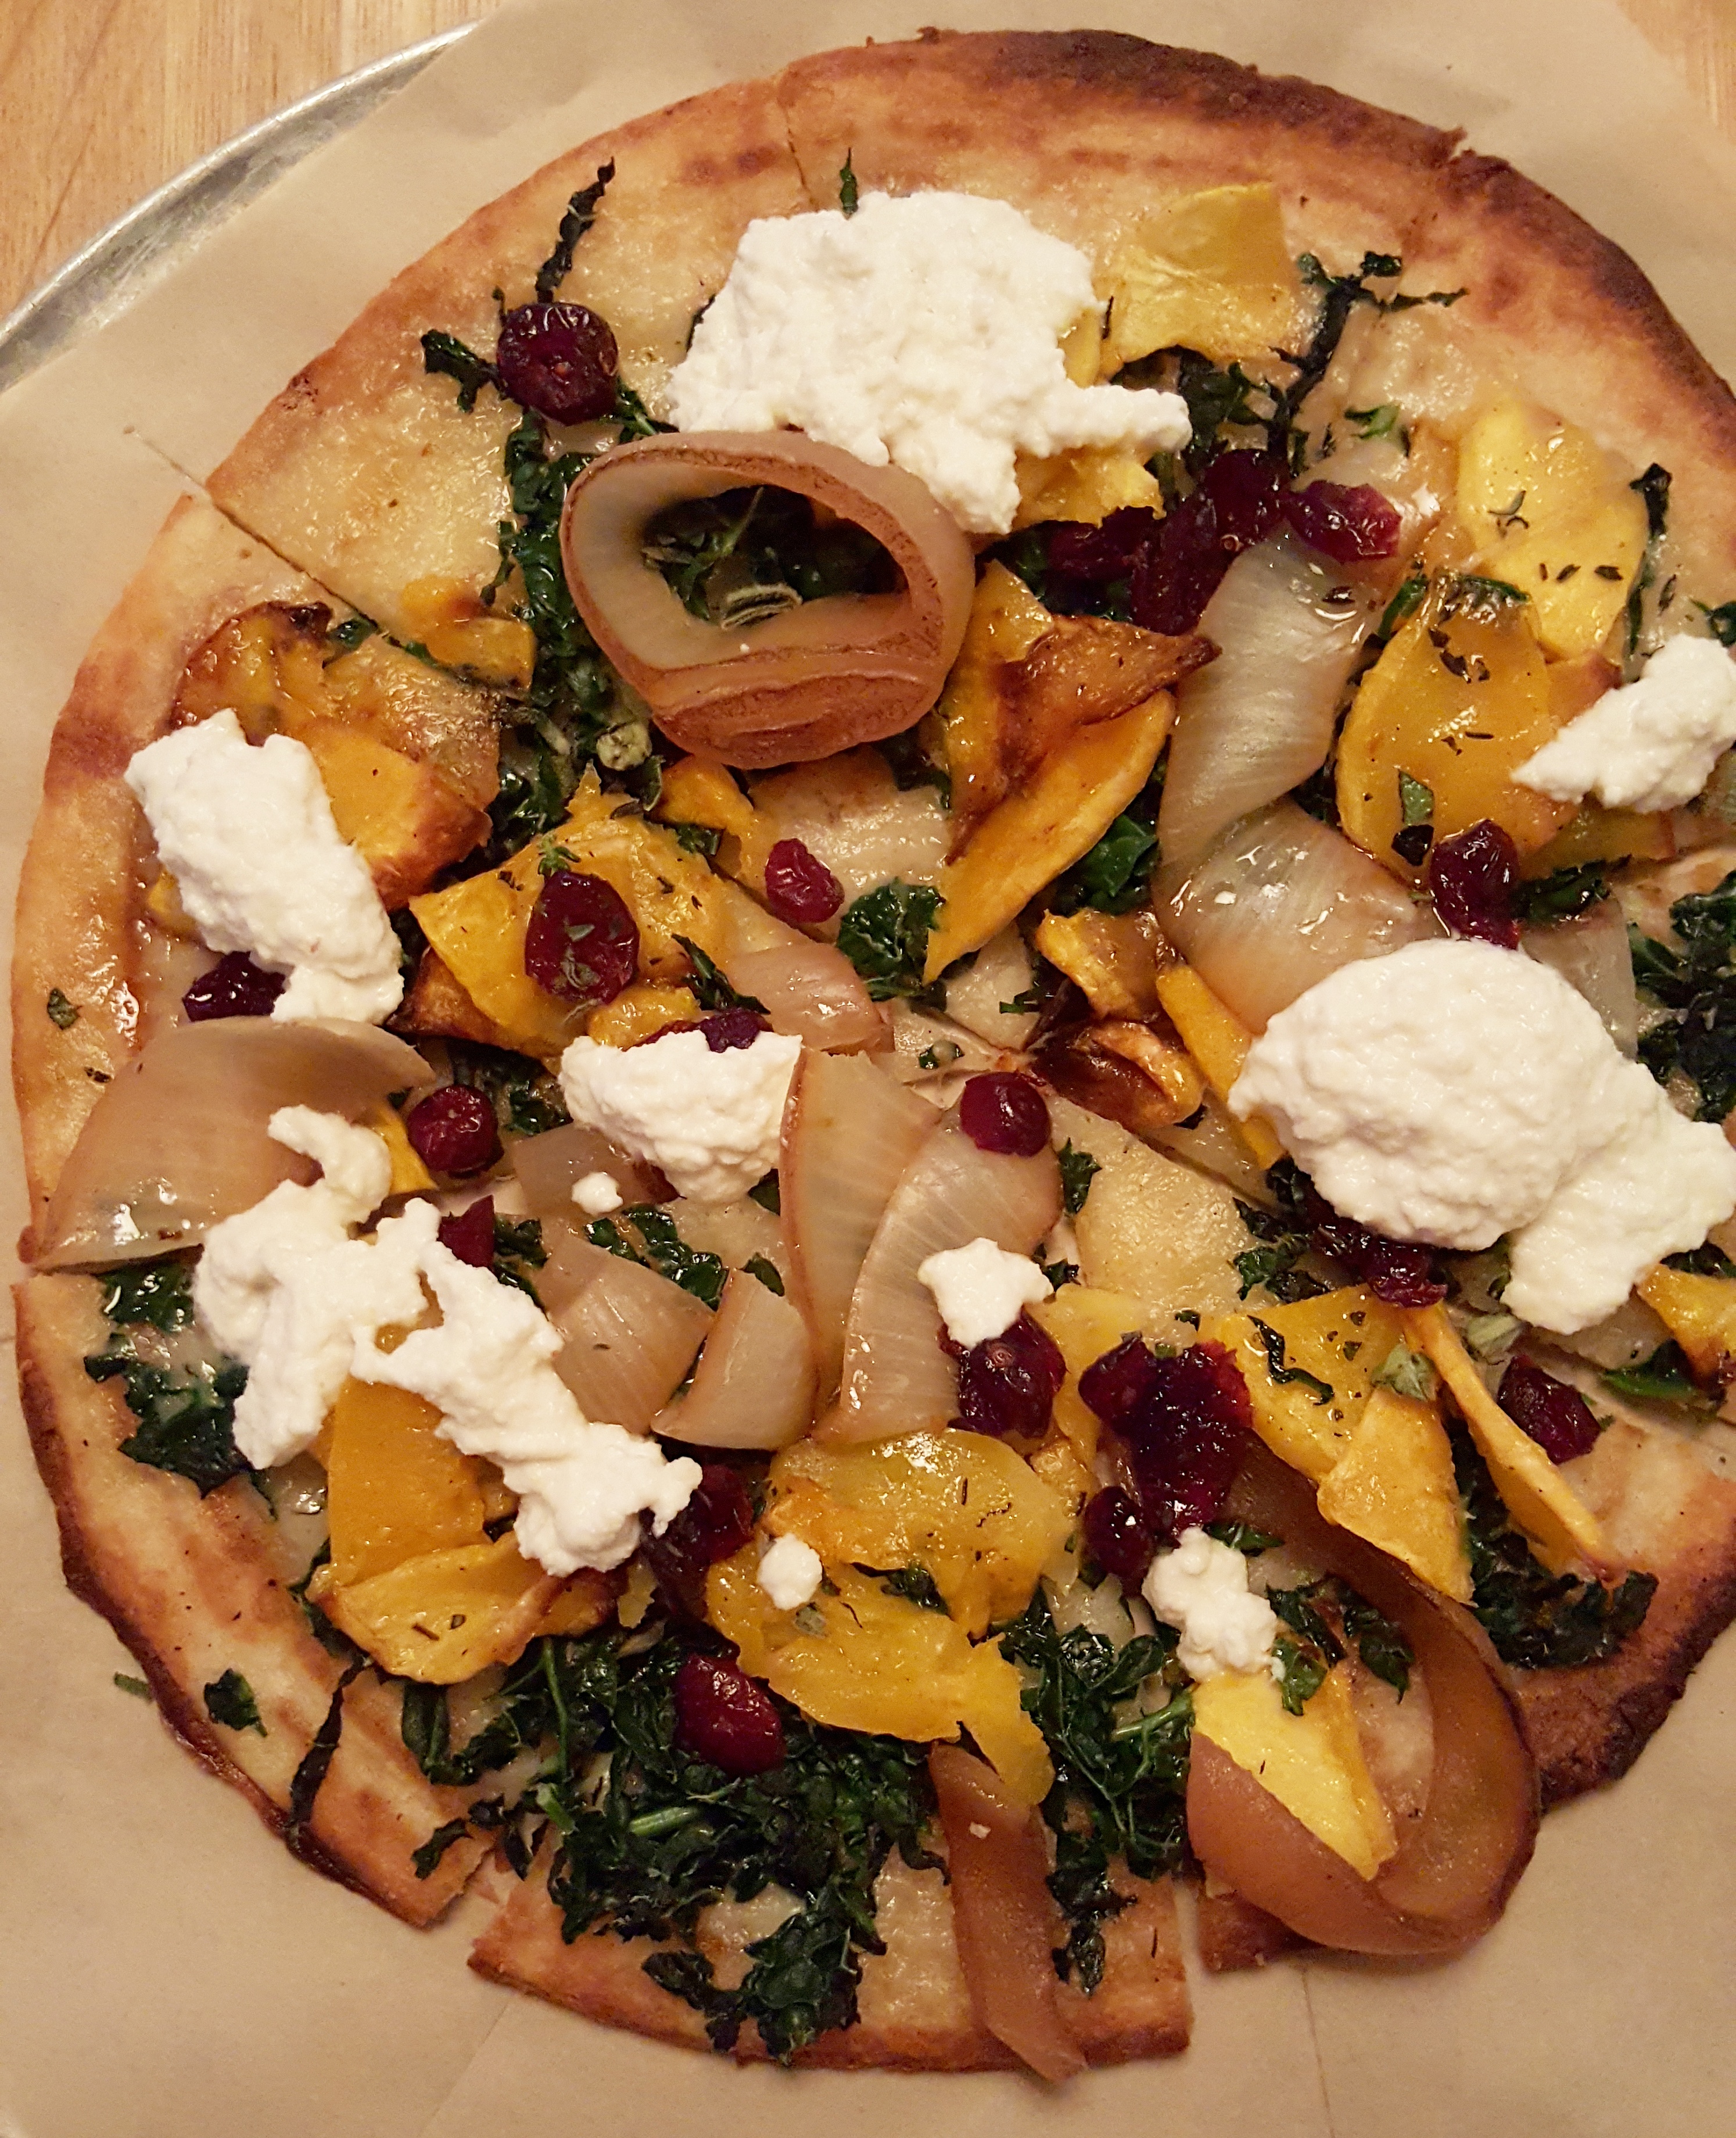
 For me and a lot of my clients, roasted squash or root veggies are the epitome of the fall season and are a great way to add color, great flavor and nutrients to your Thanksgiving table. I like to roast squash and stuff it with quinoa and sauteed mushrooms, but you can stuff it with anything you like (including stuffing!). This is a great guide from the kitchn on how to make stuffed squash. And, if you cut it in half horizontally instead of vertically, you get those beautiful ridges. And, last tip… you can eat the skin!
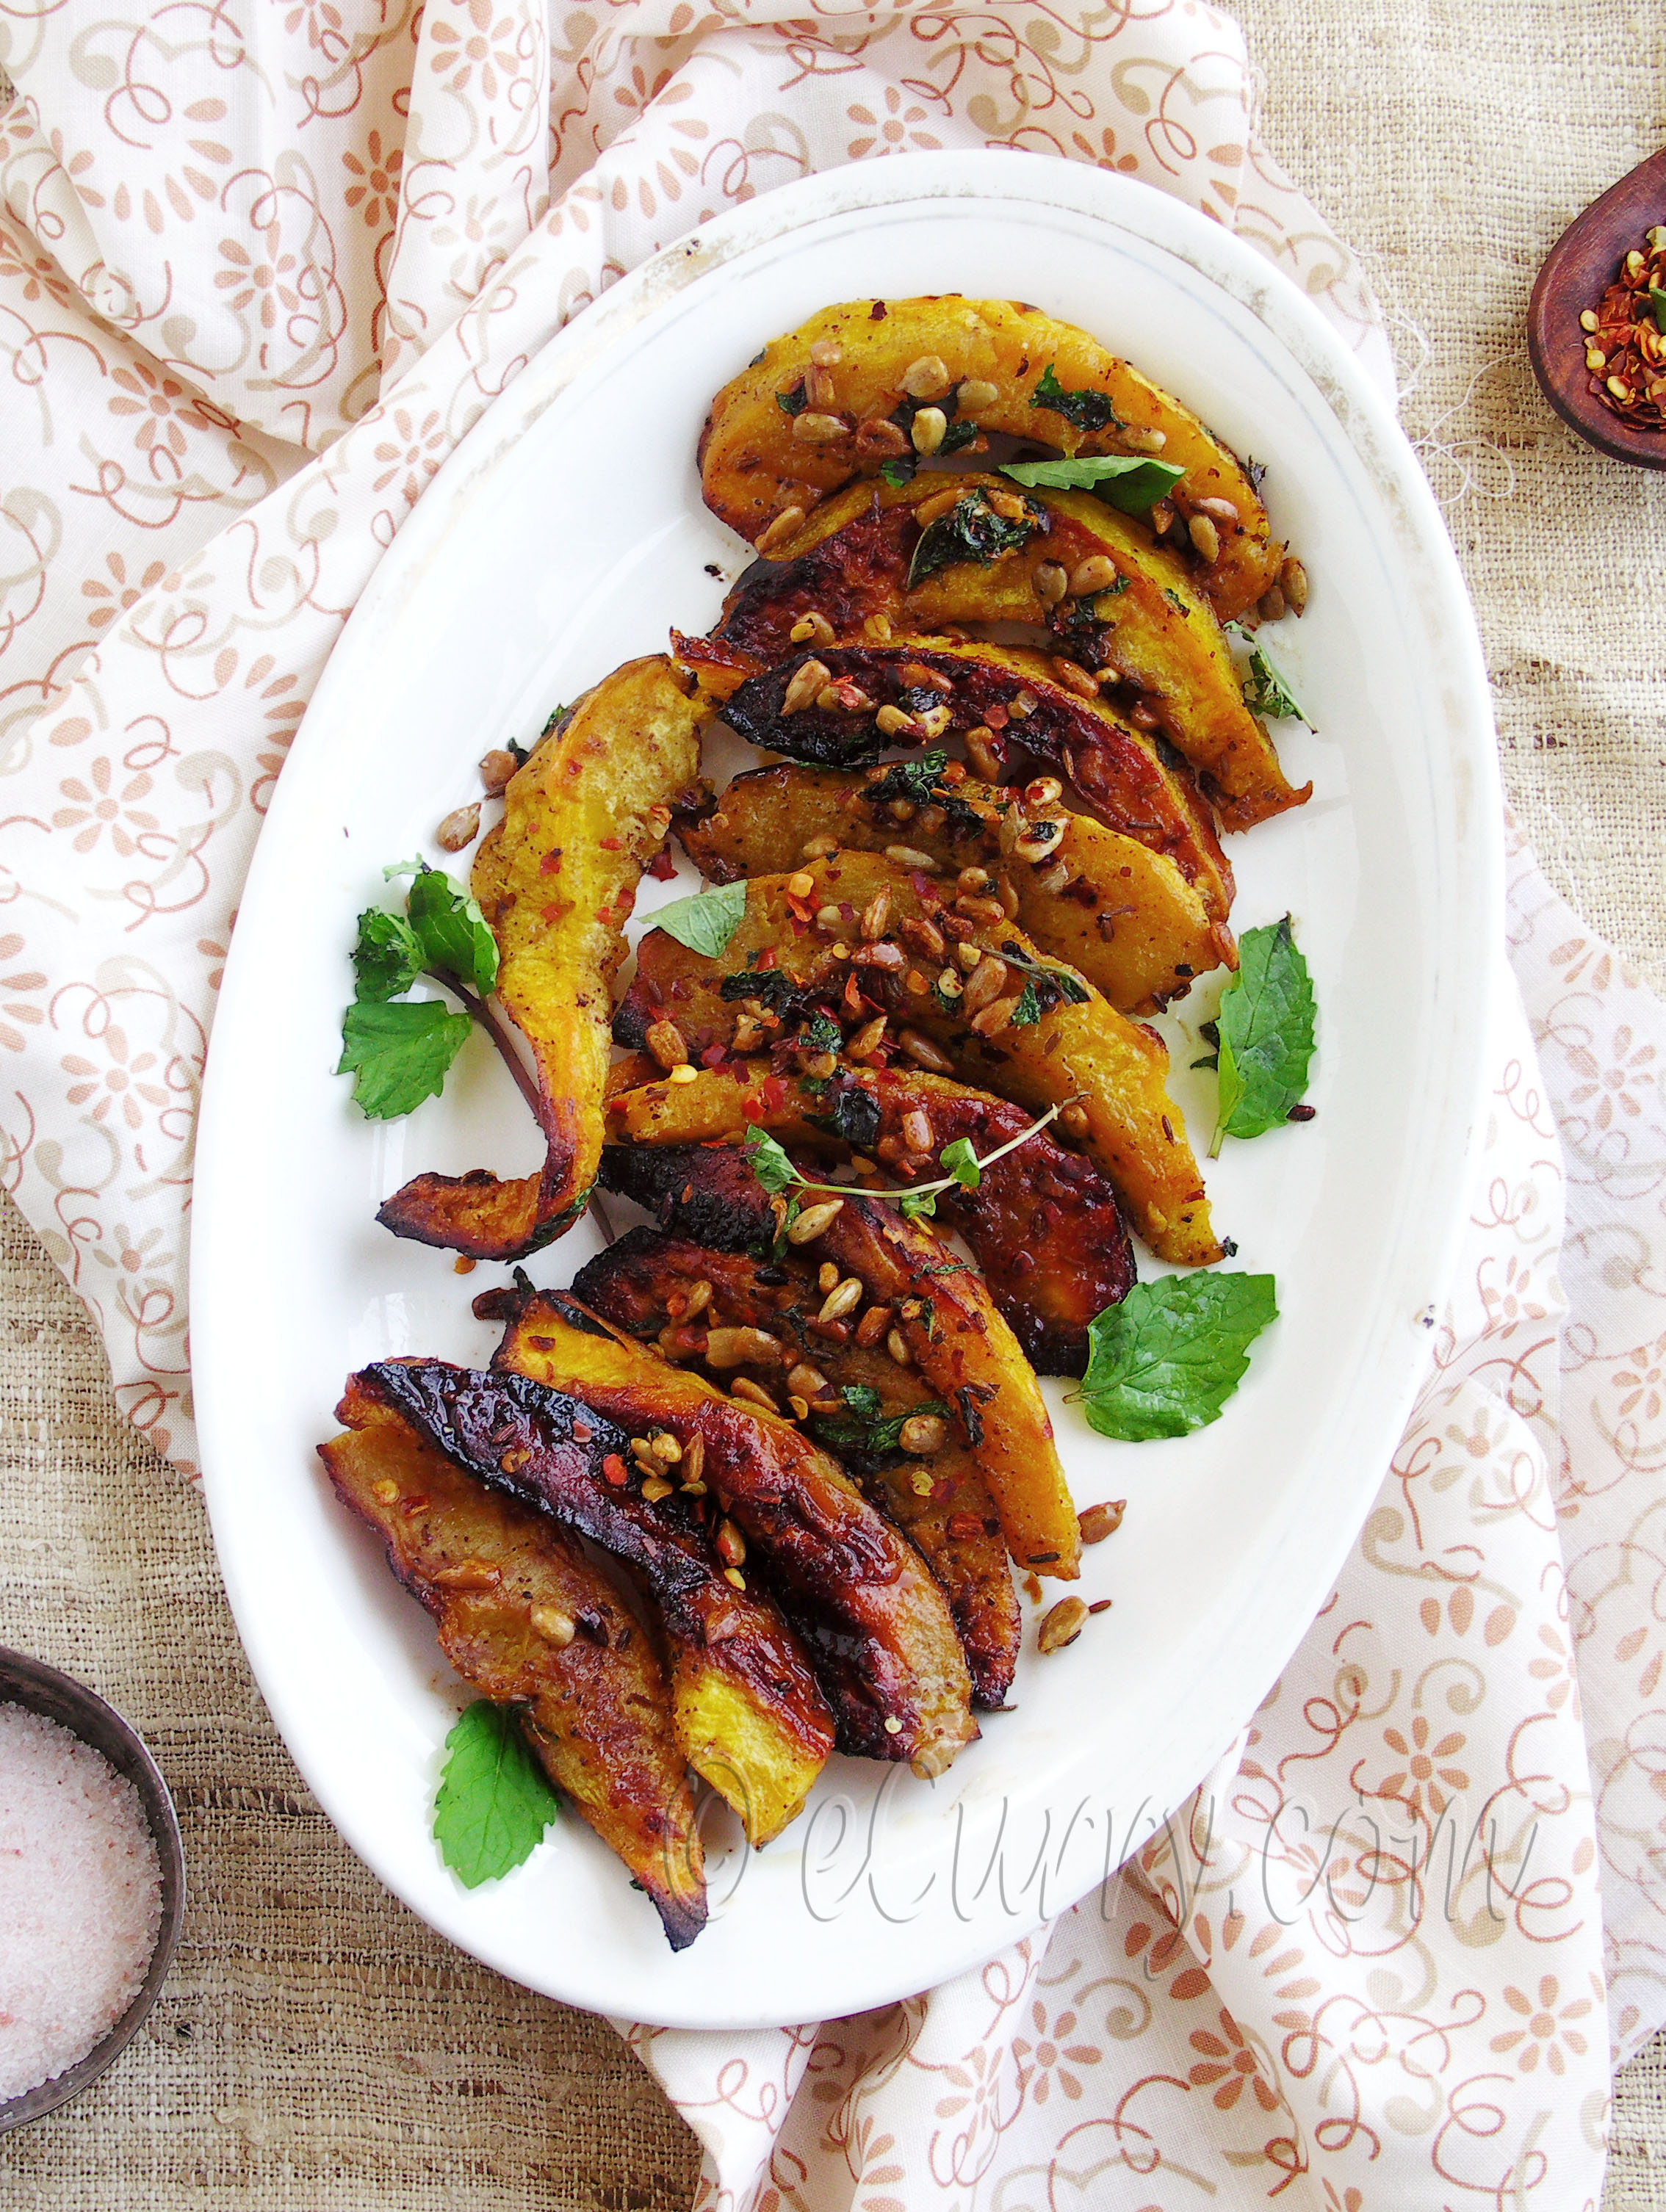
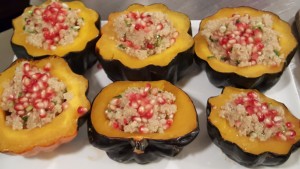
Candied Acorn Squash with Allspice
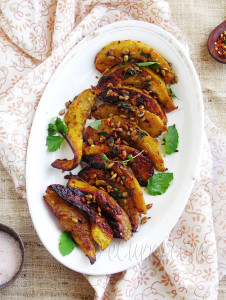 This recipe is so simple, and sooo good. I had this dish when I was up at a conference at Kripalu, and I had to try to recreate it when I got home. Just thinly slice acorn squash, coat with olive oil, cinnamon and allspice, and bake at 450 until parts of the squash are super brown. The cinnamon and allspice, plus the super roasting of the squash make this dish so sweet without any added sweetener. Garnish with any herbs you have on hand or extra pomegranate seeds. This is another squash dish where leaving the skin on cuts down on your work and adds to the taste. The crunchy texture of the skin is a great contrast to the creaminess of the inside of the squash.
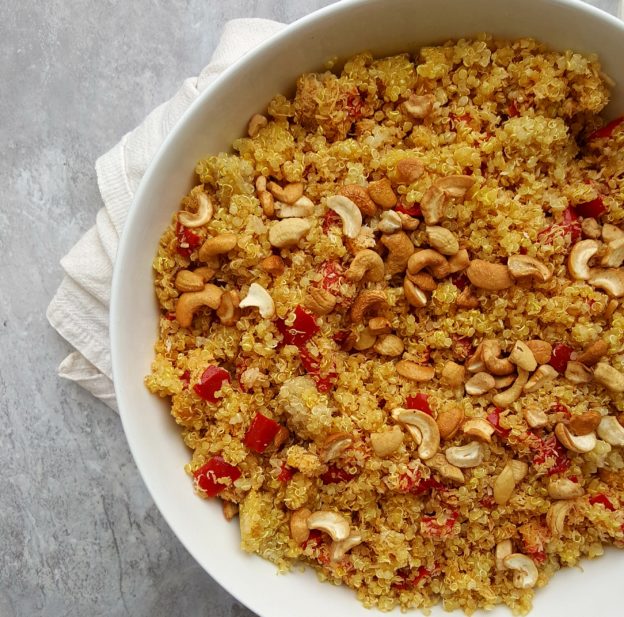
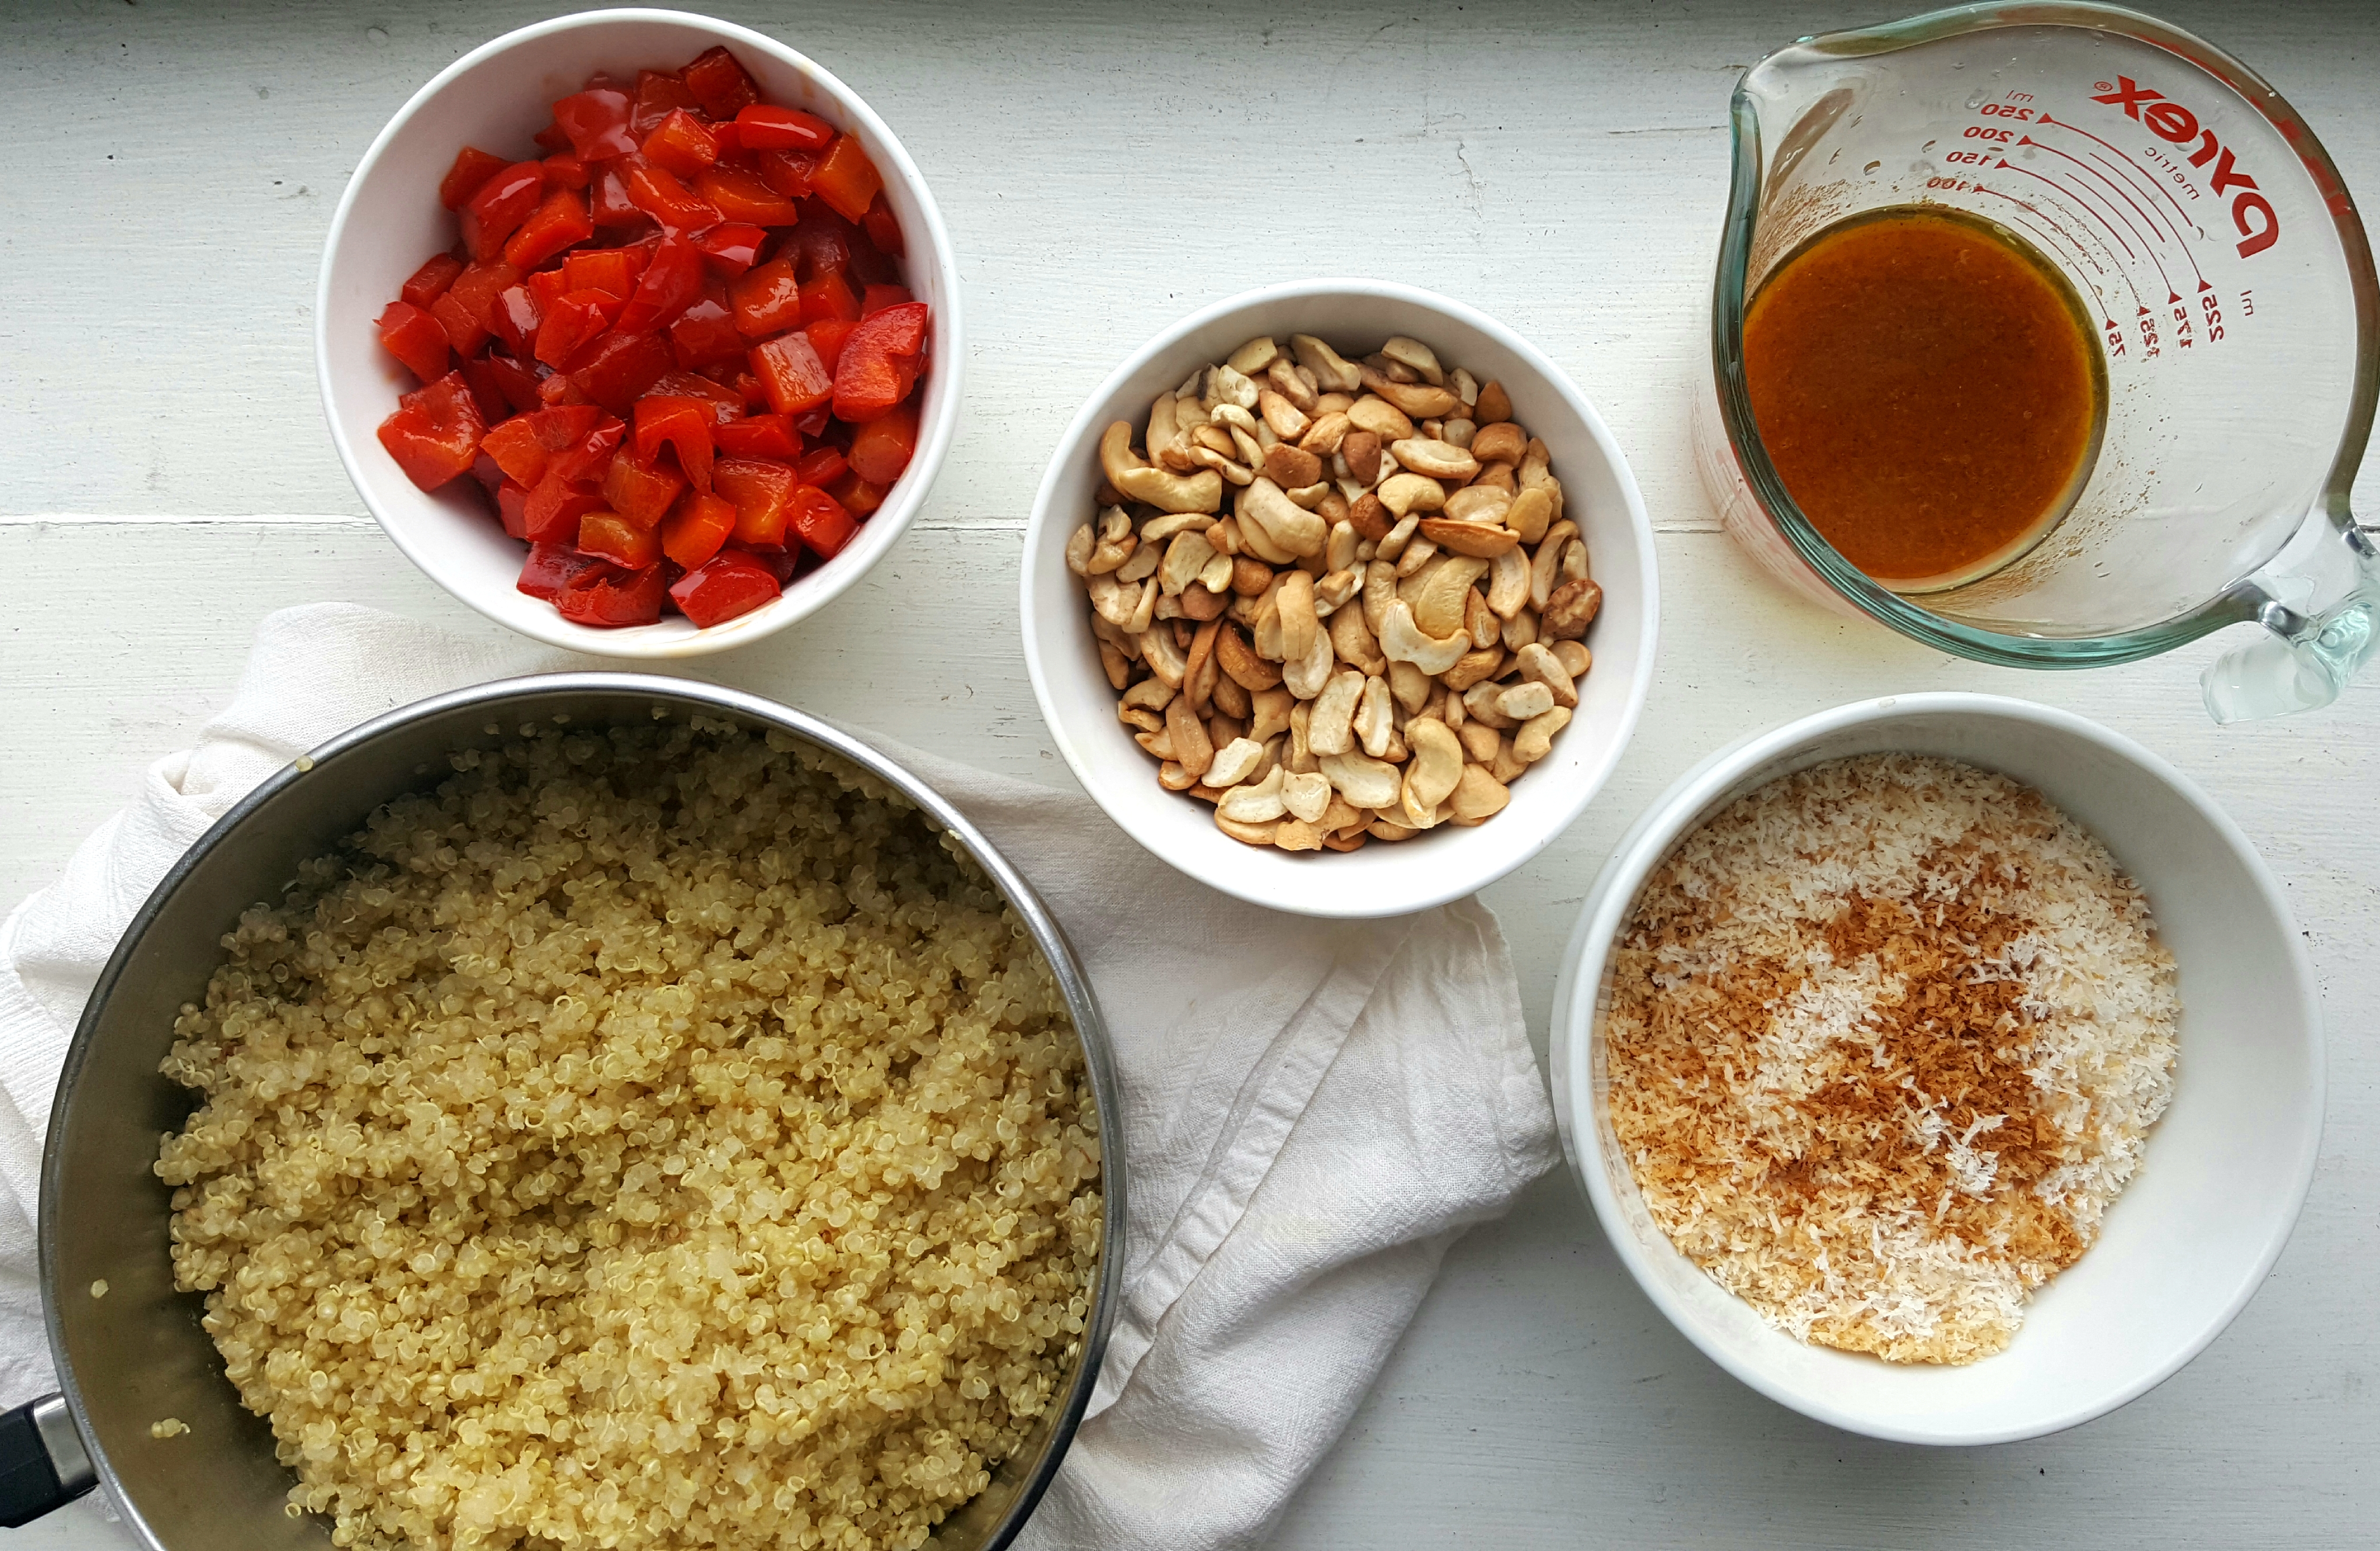
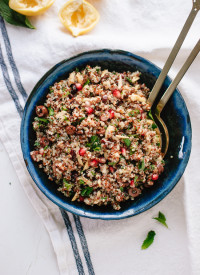
 This is my go to salad when I cook for retreats. It has so many great herbs in it like mint and parsley, and great color from the pomegranate seeds. It’s almost perfect for Christmas with the red and green! This is definitely a great way to up your quinoa game, whether it’s for Thanksgiving or your next get-together.
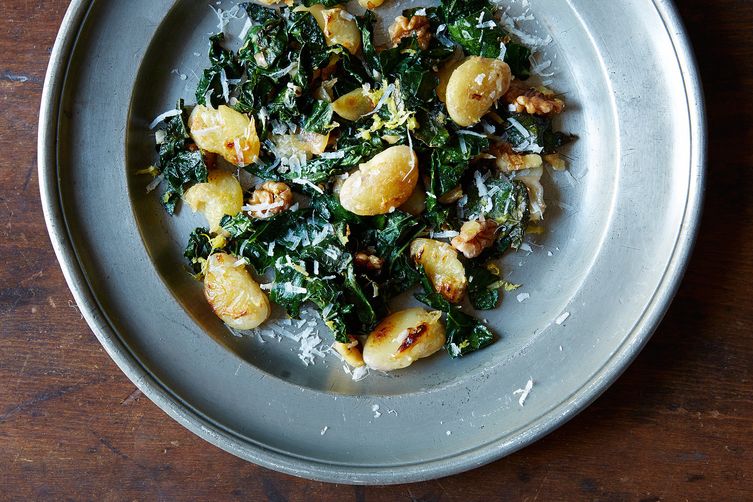
 The first time I made this dish was with my sister, Margeaux. After that first time, I swear she made this once per week! The crust on the beans is really the key to the yum factor. You must not fidget with the beans as they cook. That’s what allows them to caramelize. Simple, delicious, nutritious. A Thanksgiving winner. I skip the parm, but it’s up to you.
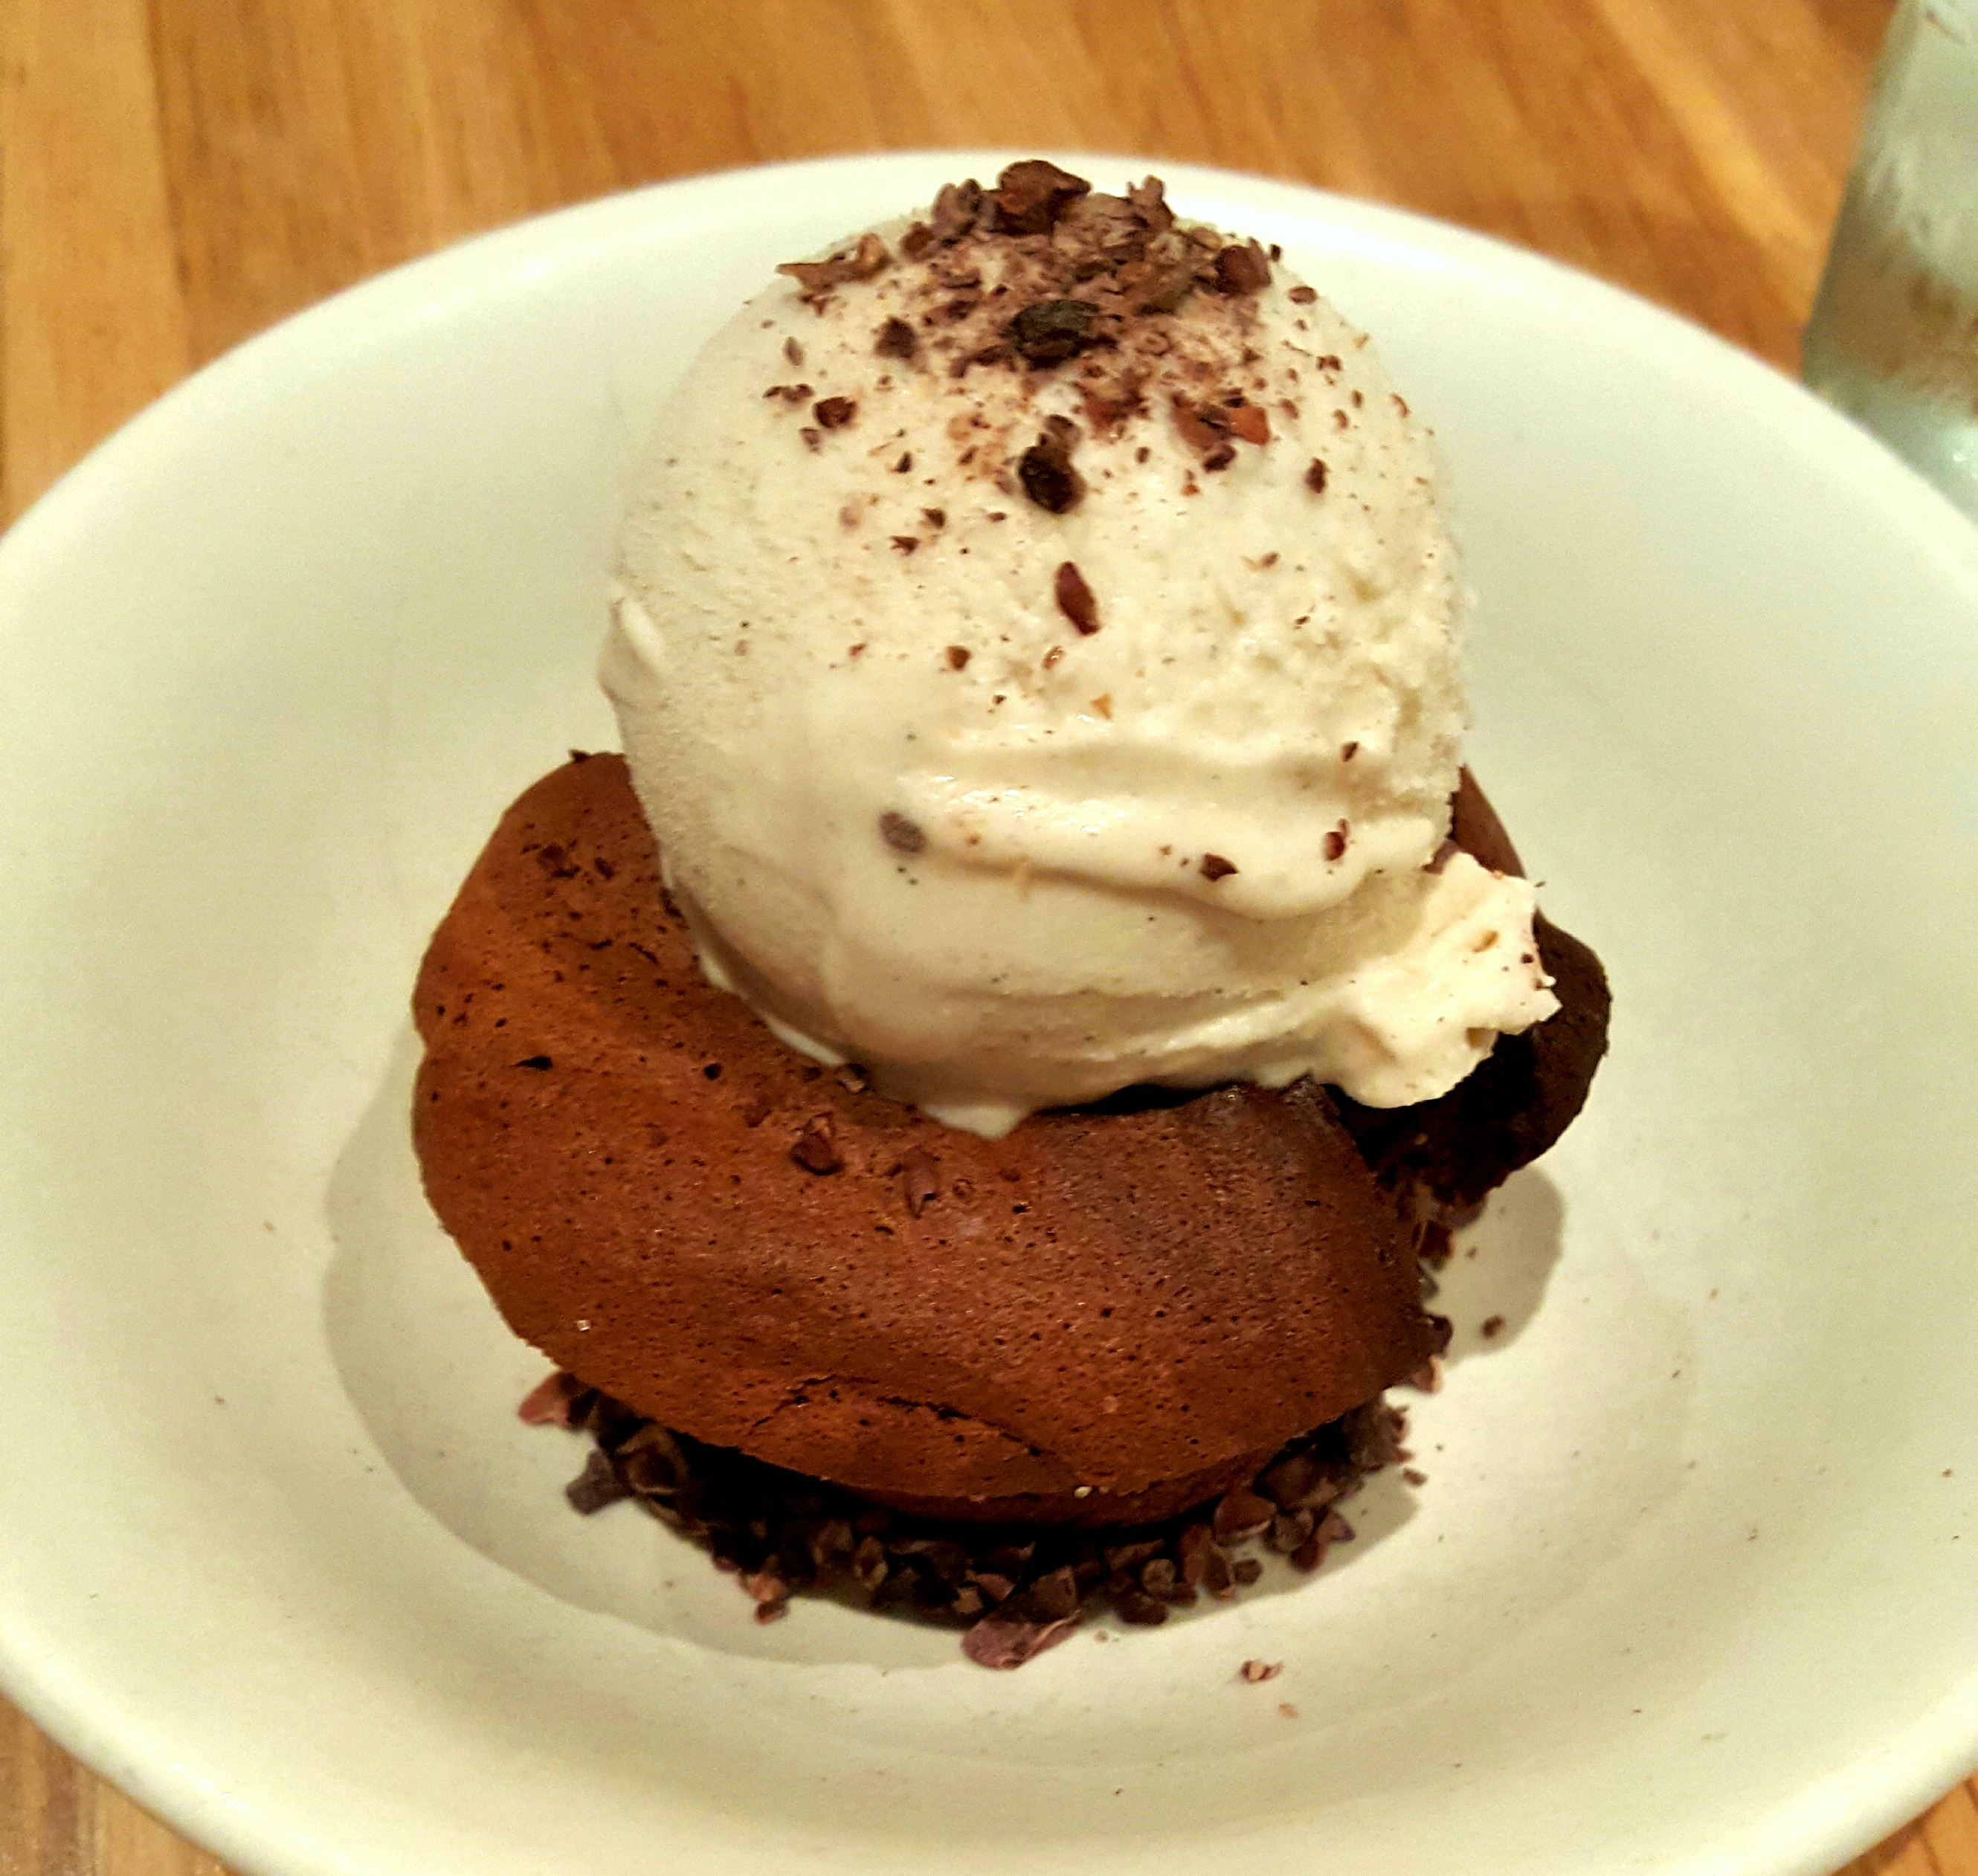
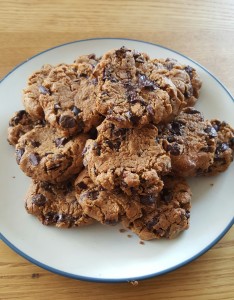 I know this isn’t a dessert list, but these cookies are to good not to mention. They’re a super crowd pleaser. I’m sure you already have you desserts lined up, but if there is room for one more, give this one a whirl. It’s gluten free, refined sugar free, rich and delicious without the “oh I ate so much/I’m so stuffed” afterward. You can use a chia or flax egg if you don’t eat eggs. And you can use peanut butter or cashew butter as well, they come out just as good.
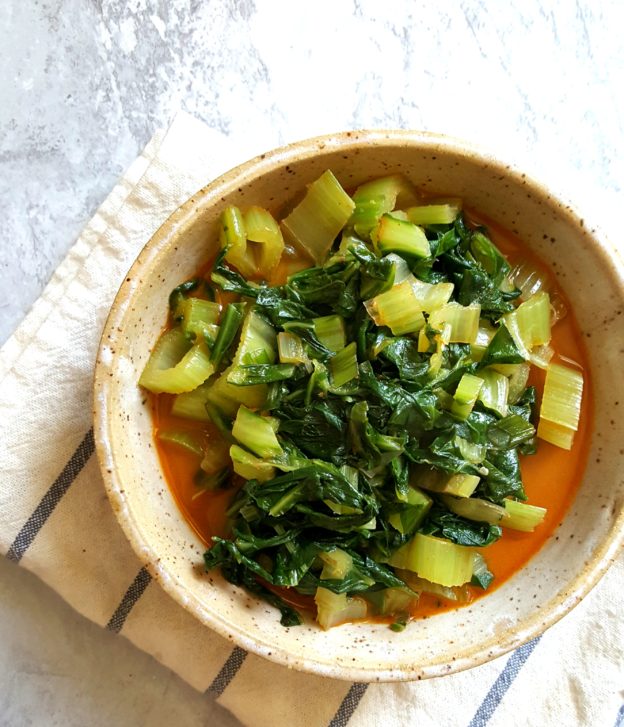
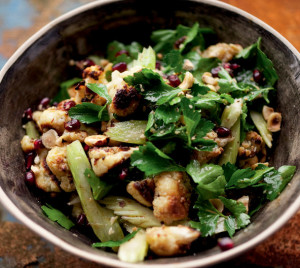 Cauliflower is perfect this time of year and makes a great plant-based main or side. Plus all of Yotam Ottolenghi’s recipes are drool worthy (have you seen his books?). You’ll be eating with your eyes way before you sit down. I love seeing the pomegranate popping up again. It really is great this time of year and it adds so much freshness to this dish. I skip the celery in this dish, but you can do it however you like. Like I always say, it’s your kitchen, you make the rules.
I hope you enjoy some of these recipes! Remember, stay seasonal and focus on a variety of colors and textures. All these dishes are hearty, beautiful and so tasty. They would be a great addition to any Thanksgiving table. Let me know which you make and any variations you chose.
Happy Holidays,
Samantha